
Jun 29, 2023 • Filed to: Photo/Video/Audio Solutions • Proven solutions
There might have been occasions when you see people's faces blurred out in a video or a movie. Have you thought about why that is done? It may probably be because their face shouldn't have been shown in the Video. Or they do not want their likeness in that project.
Sometimes, it may not be people's faces. It might be a piece of sensitive or confidential information caught on camera. These might happen to you. The blurring effect might be the solution to the problem!
This article talks about easy steps you can follow to blur out a moving face from your Video! Below are a few apps that can help.
Solution 1. Using the Movavi Video Editor
Movavi is a great video editing app. It's very easy to navigate. It is designed to create and edit videos. Both novice and intermediate video editors can use It. Follow the few steps below to blur out moving faces from a video using Movavi Video Editor.
- Download and install the Application.
- Open the app.
- Click on the 'File Import' Icon at the top left corner of the app.
- Click on 'Add File'.
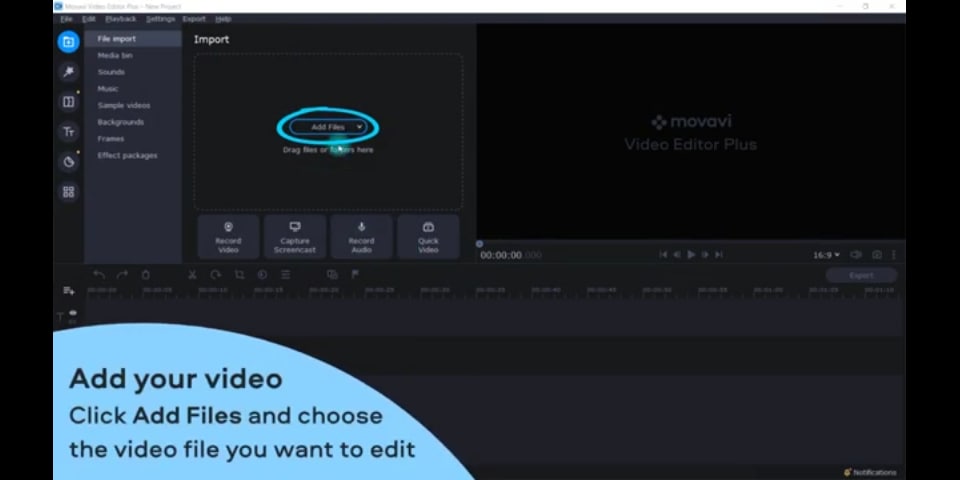
- Select the Video File to be edited and Import.
- Drag the imported File from the Media bin to the Timeline.
- Click on 'More tool' > Highlight and Conceal.
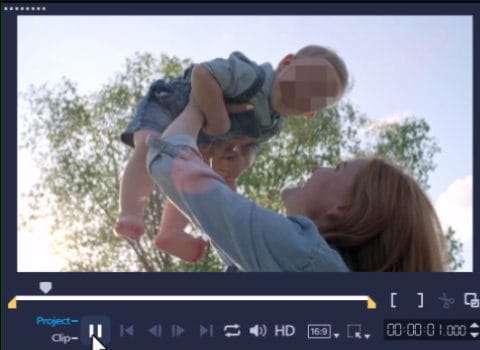
- The 'Mask' tab will appear beside the preview pane.
- Select 'Blurred Eclipse' from the mask tab to match the shape of the face.
- Move and adjust the Oval blur that appears on the preview pane to the subject's face.
- Click on the 'Mask Properties' tab to adjust the Opacity of the blur as well as the feather to enable faded sides of the oval blur.
- Click on 'Motion' > 'Choose a tracking mode', click on the arrow beside 'Quick', select Precise.
- Click on 'Track'.
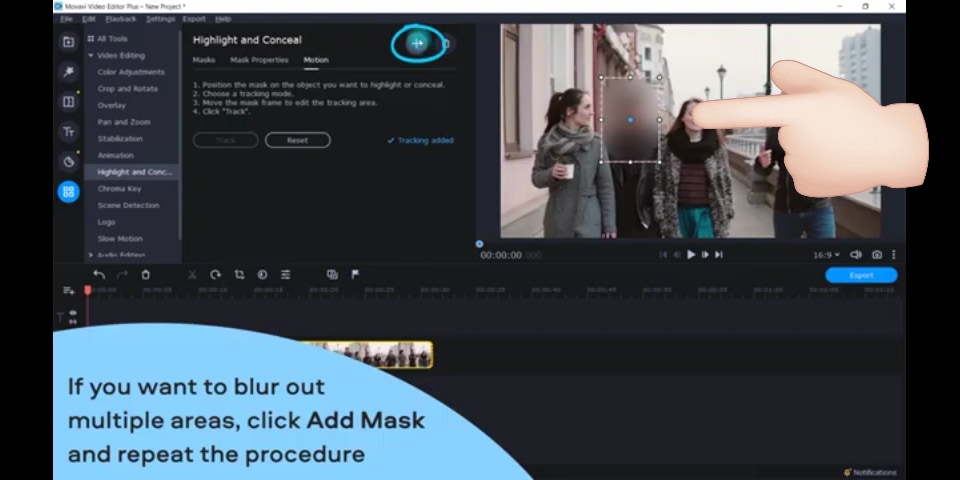
If you have multiple Faces to blur out, click on the '+' icon at the top and repeat the procedures above.
When you are done, click on 'Export', and you're good to go!
Solution 2. Using the Video Editing App
This I'd one of the best Video Editing apps employed by Professional Video Editors. It has a lot of features. Blurring faces and objects (both stationary and Moving) from a video is one of the things it can be used to do. Below are a few easy steps you can follow to Blur our Moving faces from a video on this Application.
- Download and install the app.
- Open the app.
- Click on the 'Edit tab. Videos on your system will appear here.
- Drag the video file to be edited to the Timeline.
- Click on the 'Track Motion' icon from the toolbar.
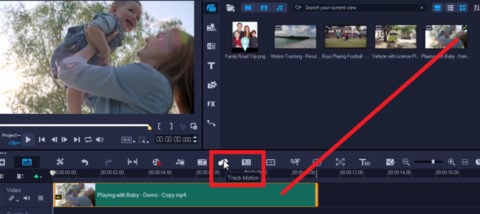
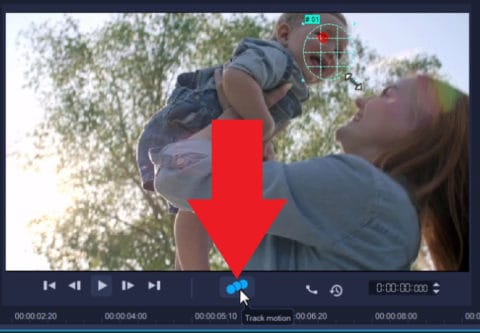
- A red tracker will appear on the preview pane.
- Drag the red tracker over the face to be blurred out on the preview pane.

- Click on 'Mosaic' > Click the arrow beside the mosaic to change the shape of the Mosaic blur to either rectangular or oval. The oval shape would be preferable because the face is more oval than rectangular.
- Click and drag the nodes of the oval mosaic blur to adjust the areas of effect on the face.
- Next, click on the 'Track motion' icon.
- When it is done tracking, click 'OK.'
Click preview, and you will be amazed at how you have successfully blurred out the face with these few easy steps!
- Export your Video!
Solution 3. Using the Adobe After Effect
This is another professional video editing app that runs on both Mac and Windows.
- Download the Adobe Premiere Pro and install
- Open the app.
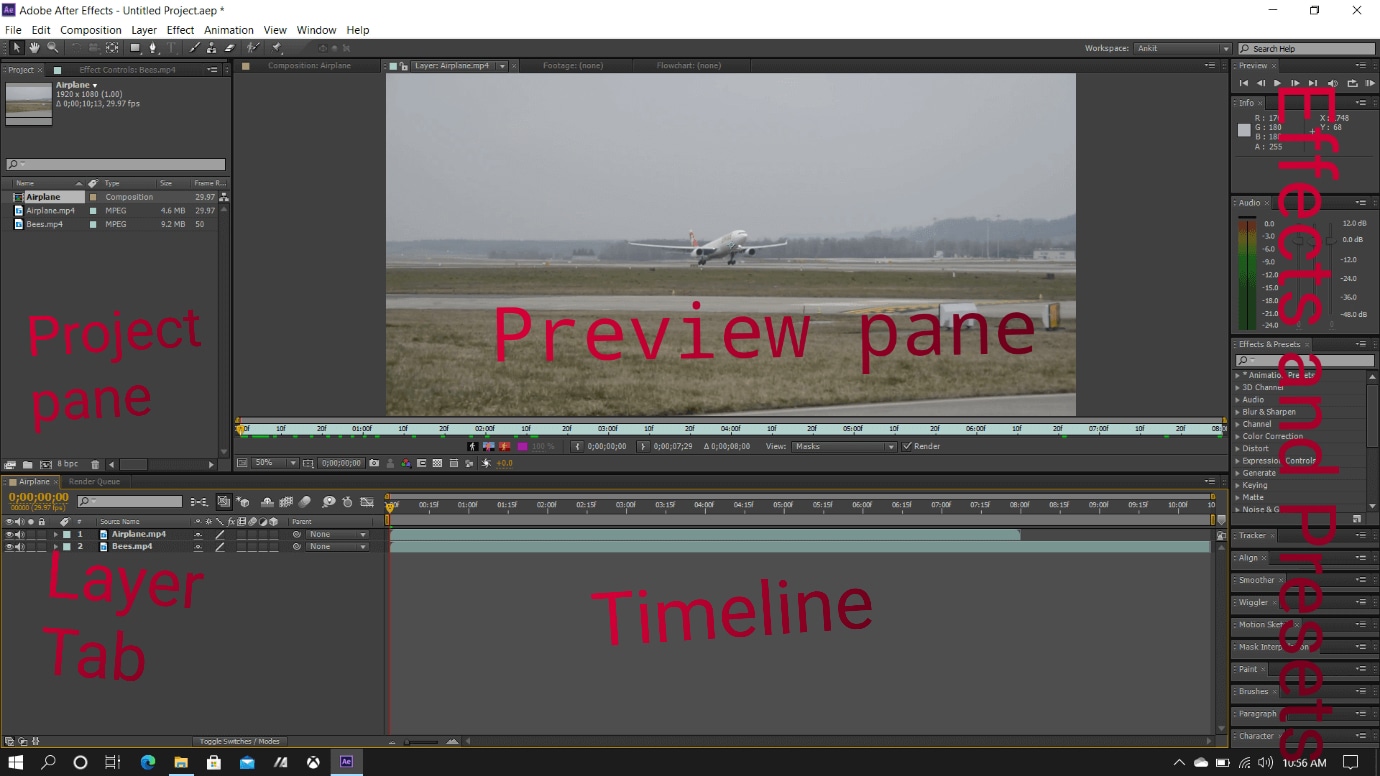
How to Import Video file on Adobe After effect
- Double click on the project pane or
Press Control + I or
- Click on 'File' on the top left corner > Import > Import Video file
After performing any of the actions above, it will open your documents, look for the video file's location, click on the Video and Import.
Another easy way to import is to minimize the app and drag the Video from wherever it is to the app.
The next thing is to track the motion of the face.
- At the top left corner, Click on 'Windows' >Tracker. Tracking tools will pop up by the side of the preview pane.
- Click on 'layer' on the menu bar > New > Null object
- A new layer will appear on the Preview pane.
- Click on the new layer of Video, go to tracking tools > Track Motion.
- Two boxes, one embedded in the other, will appear.
- Drag these two boxes to an area on the subject's face that remained in the frame throughout the Video, e.g., the eyebrows or the nose.
- Click on 'play' from the tracking tools pop-up to start tracking.
Be sure to start the tracking from the beginning.
After tracking is done:
- Go to the menu bar, click on layer > Adjustment layer.
- Select the subject's face from the adjustment layer.
- Search for 'Fast Blur' on the effect tab.
- Drag the Fast blur effect to the adjustment layer timeline
- Link the adjustment layer to the null layer.
- Increase and decrease the blur effect from the blur Preset at the top left box until you are satisfied.
- Click on play at the top right corner, and you're good to go!
Solution 4. Using the Adobe Premiere Pro
This is a cool and straight-to-the-point video editor. It gives you what you need without waste of time. You can blur out faces from a video on this app by following the procedures below.
- Download the Adobe Premiere Pro and install
- Open the app.
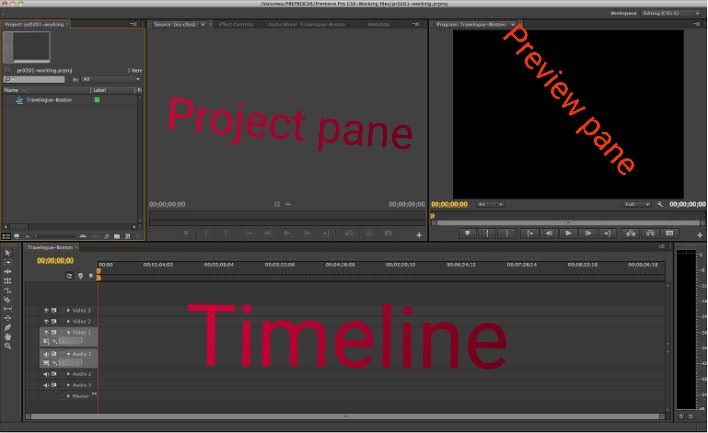
How to Import Video file on Adobe Premiere Pro
- Double click on the Project pane or
- Press Control + I or
- Click on 'File' on the top left corner > Import > Import Video file
After performing any of the actions above, it will open your documents, look for the video file's location, click on the Video and Import.
You can also minimize the app and drag the Video from its location to the app.
After Importing;
- Click on the 'Effect' tab at the bottom left box and type in 'Fast Blur.'
- Drag the 'Fast Blur' effect to the Timeline.
- Click on the 'Elipse tool' on the top left box. A circle will appear on the Preview pane.
- Drag this circle to the subject's face.
- Adjust the circle to fit the areas to be blurred out.
- Adjust the Blurriness at the top right box.
- Adjust the feather to make it blend more too.
- To export a video in Premiere Pro, select the sequence you want to export, go to File> Export > Media. You could also press the shortcut key Control + M on PC or Cmd + M on Mac.
Solution 5. Using the Lightworks App
This is also a very good application to blur out moving faces from a video.
- Download and install the Lightworks app on your system.
- Open the app.
- Drag the Video to be edited to the project pane.
- Drag the Video from the project pane to the Timeline.
- Click on VFX at the top.
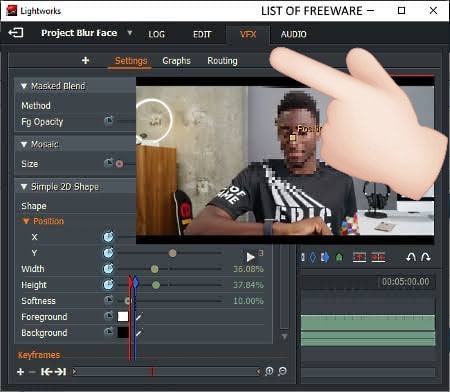
- Next, click on the '+' sign at the top left corner of the interface.
- Click on the stylize tab
- Select 'Obscure blur'
- Click on apply effect on the bottom corner.
- A circular blur will appear on the screen.
- Use the blur Preset on the left side of the preview pane to adjust the blur.
- Position the blur on the subject's face until it fits there.
- Turn on X and Y from the presets.
- Next, drag the Video forward bit by bit from the Timeline.
- Each time you drag the Video forward, adjust the blur on the Subject face.
- Do this for the whole of the Video.
- When you're done, play the preview to check what you have done
- If it's perfect, export!
Solution 6. Using the Davinci resolve app
- Download and have the app installed on your PC
- Open the app
- Import the video you want to work on
- Create a node on the preview pane
- Click on the power window icon below the preview pane.
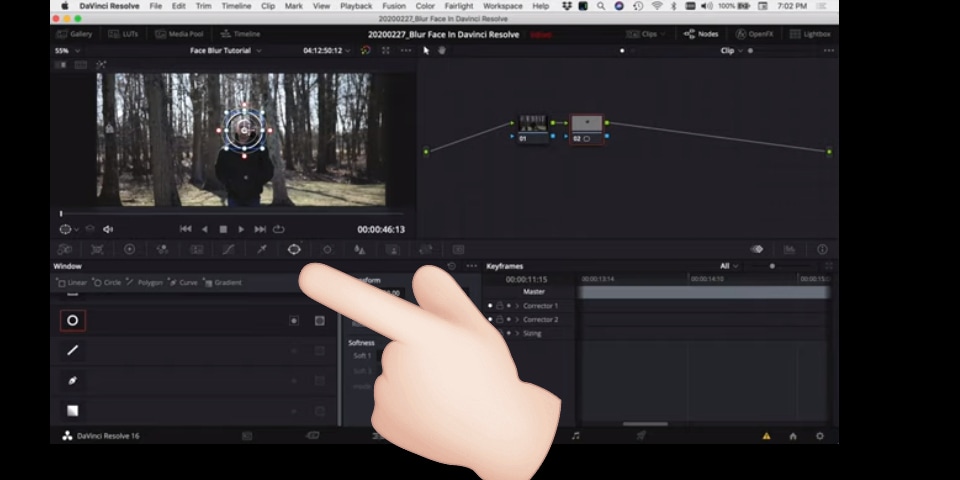
- Resize the power window to fit on the Subject's face
- Click on the 'Track' icon right beside the power icon
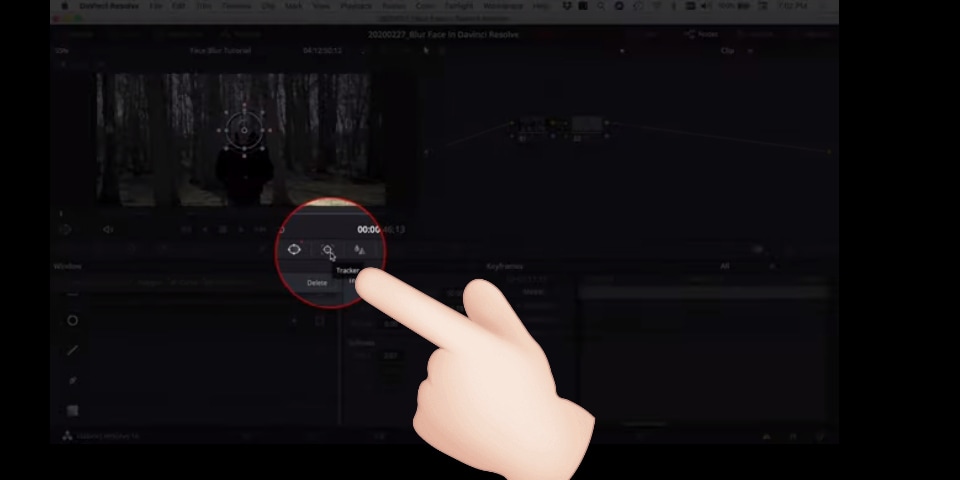
- Click on 'play' from the timeline
- Wait for the app to finish tracking.
- Next, click on 'openEfx' at the top right corner.
- Drag 'mosaic blur' to the new node you created the power window on.
- Adjust the blurred pixel till you get the desired effect.
- Preview to see if it is perfect.
- You can make adjustments to a different part of the video
- When you're satisfied, Export!
Conclusion
Whenever you have faces or images in your videos that should not be there, do well to follow the article above in blurring out faces and objects from your Video. Download each of these apps on your Mac, Linux or Windows PC's, follow the procedures above, find out the one that is more convenient for you to use, practice until you become perfect at blurring out faces from your video project. I hope you find this helpful!


Theo Lucia
chief Editor