
“How do I partition a 2TB hard drive in Windows 11?” - Quora
Typically, a single drive with a hard disk is integrated into the hardware setup. However, having at least three partitions on your hard drive is always a good idea for various reasons. The number of partitions you can have depends on the hard drive's capacity.
On a Windows 11 hard drive, you can divide the total storage space for different types of files into separate sections from the Windows OS files. This article lets you understand how to partition a hard drive on Windows 11.
In this article
Part 1. How To Partition a Hard Drive on Windows 11 [2 Ways]
A partition on a Windows 11 PC is a separate local disk drive that allows you to store data. It is the volume where you install the operating system, store files and folders, and perform backups. Each partition is a storage area typically assigned a drive letter to make it easier to work. Let's look at how to create a partition in Windows 11 using two methods.
The volume is easily created using Disk management, but you can also use the Command prompt. Examine the solutions available and choose the simplest one for you.
Note: It is possible to partition the hard drive without losing any data, but there is no guarantee that you will not lose data. If you intend to format a hard drive on Windows 11 to create a partition, ensure a backup of your important files.
Way 1: Partition a Hard Drive on Windows 11 Using Disk Management
No additional software is needed to partition a hard drive in Windows 11. The operating system has a Disk Management tool specifically intended for this purpose.
Here’s how to create a partition in Windows 11 using disk management:
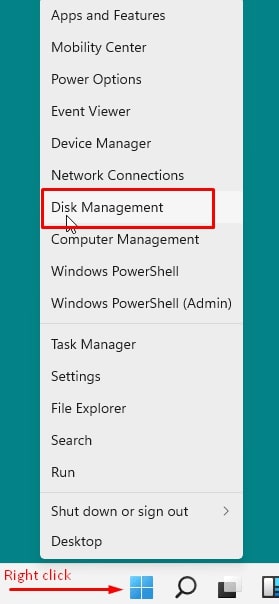
Step 1. Right-click Start on the menu and choose Disk Management.
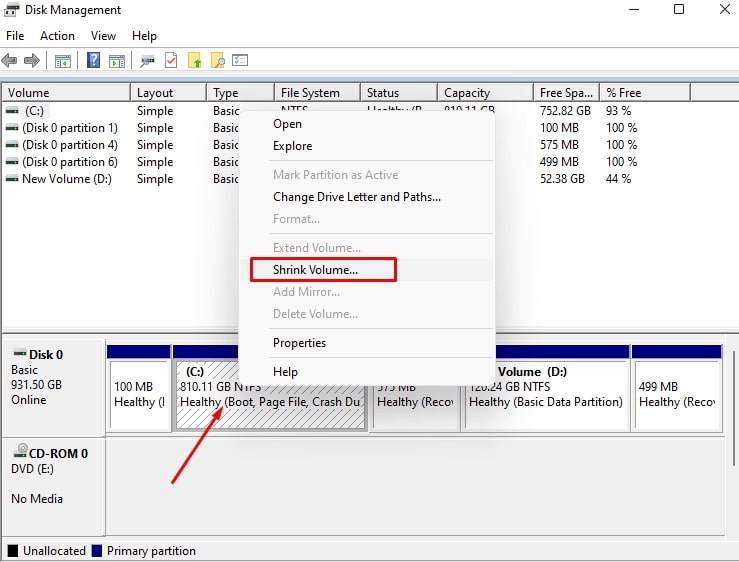
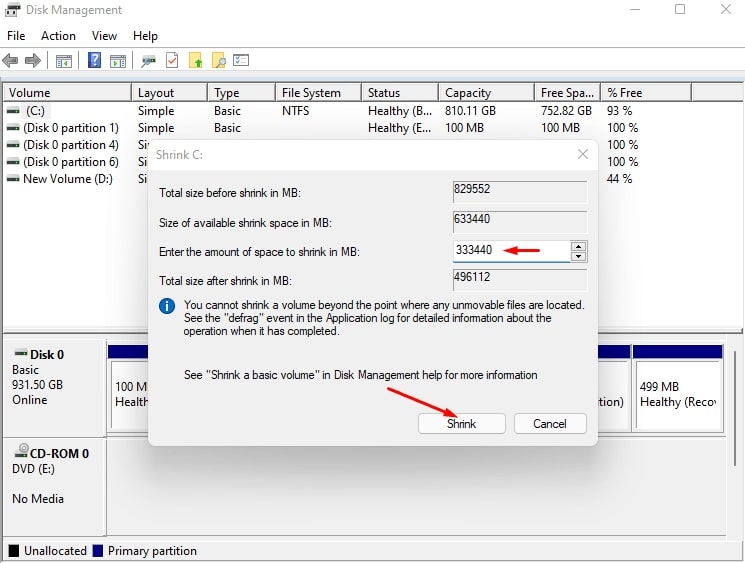
Step 2. Right-click the drive you want to partition and select Shrink Volume.
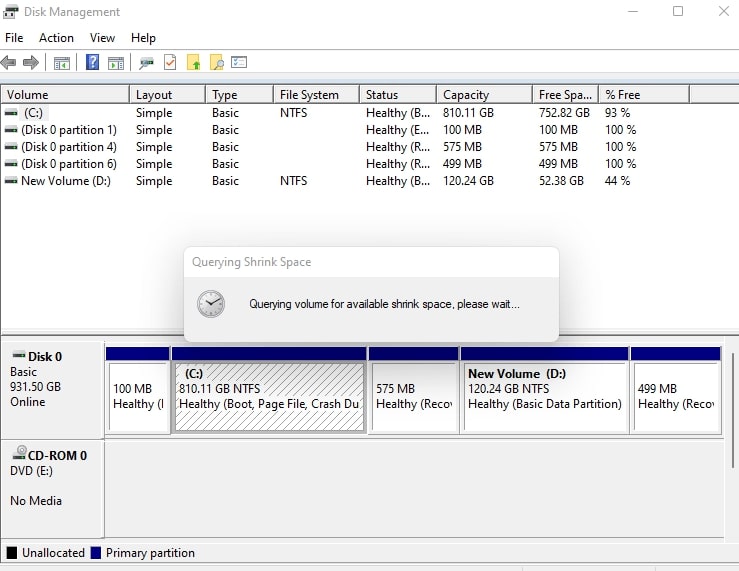
Step 3. You will see the “Quering volume for available shrink space” message. Wait for a few moments.
Step 4. Enter the amount of space you want to shrink in MB. It is the maximum size of your next partition. Select Shrink.
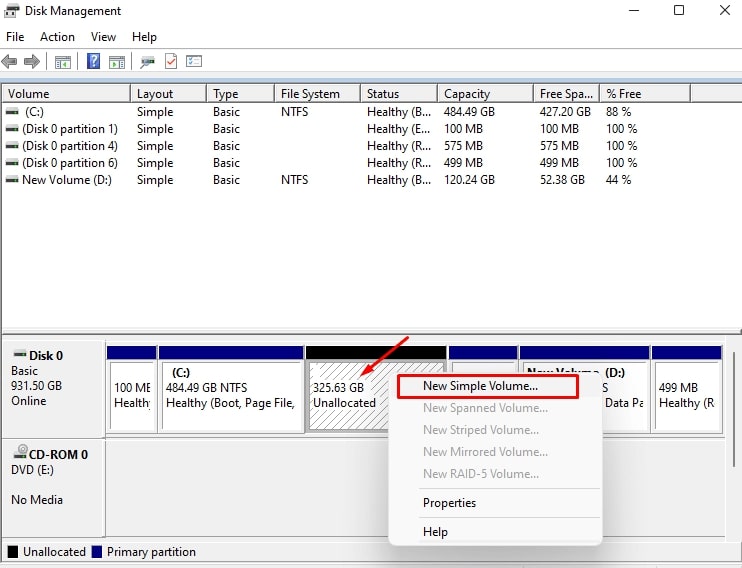
Step 5. Right-click and click Unallocated. Select New Simple Volume.
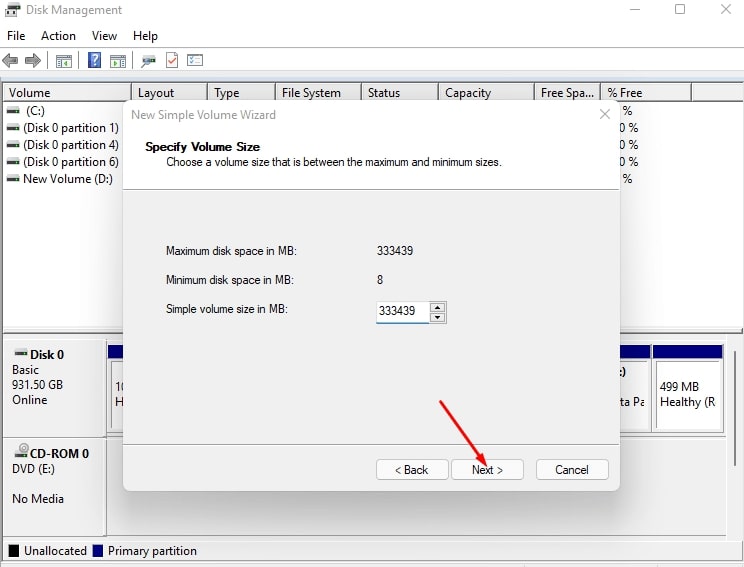
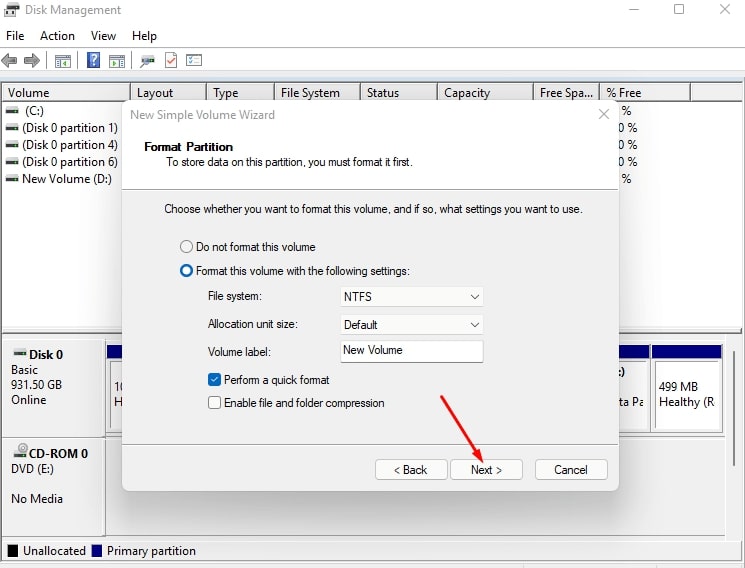
Step 6. Click Next.

Step 7. Select a simple volume size and press Next.
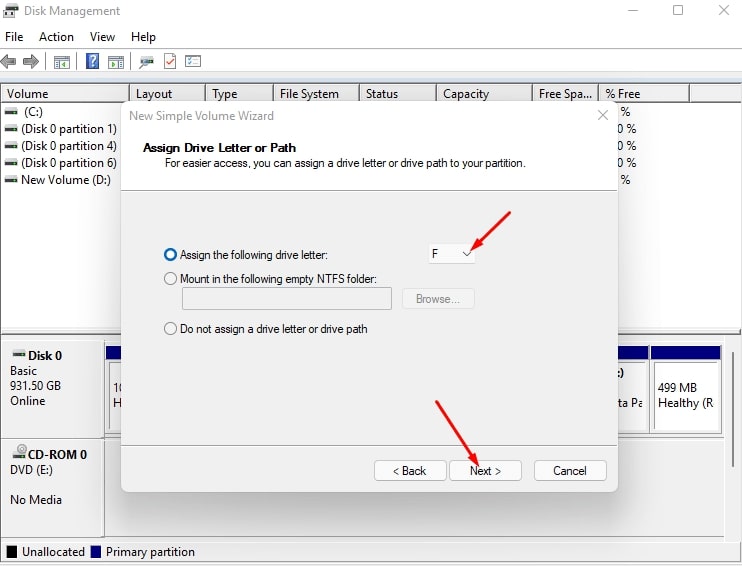
Step 8. Select your preferred drive letter and then click Next.
Step 9. Select NTFS as the file system and tap Next.
Step 10. Finally, press Finish.
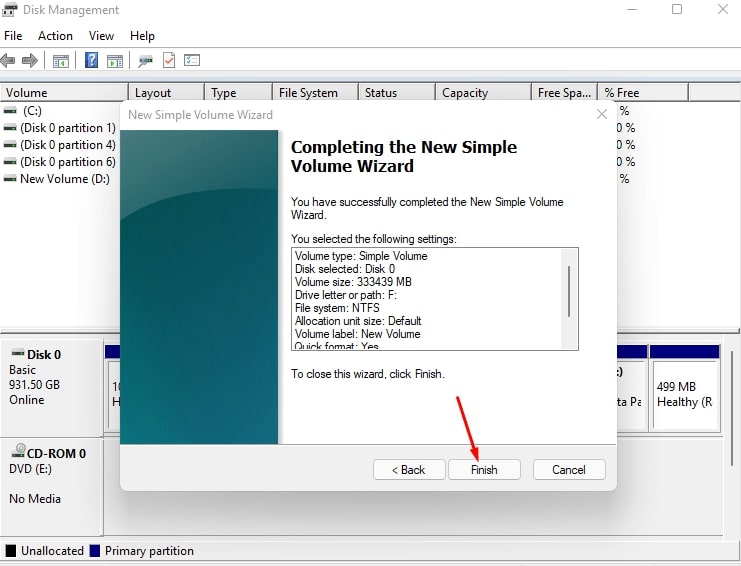
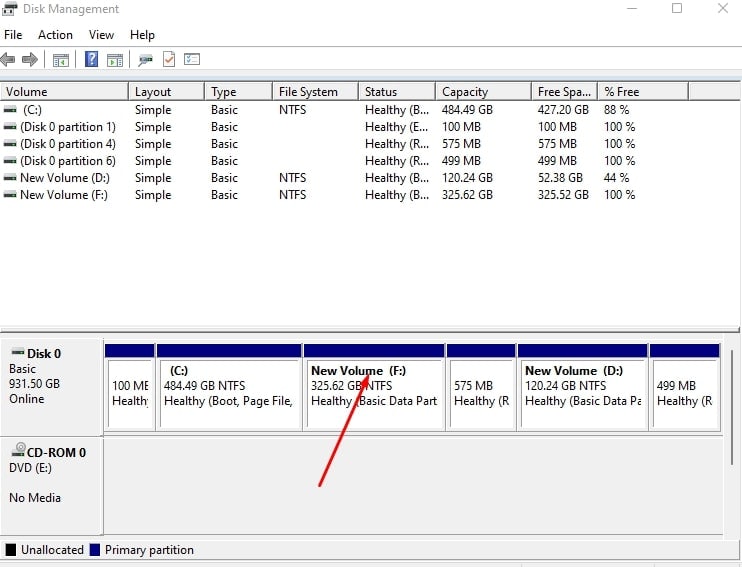
Step 11. You have created a partition in Disk management. You can create more partitions by repeating the preceding steps and managing those partitions for personal files and folders.
Way 2: Partition a Hard Drive on Windows 11 Using DiskPart Commands
Another way to partition a hard drive in Windows 11 is the Command Prompt tool built into the operating system.
Note: Be careful in executing commands, as one mistake may lead to undesirable scenarios.
Here's how to use Windows 11's DiskPart tool to create a partition:
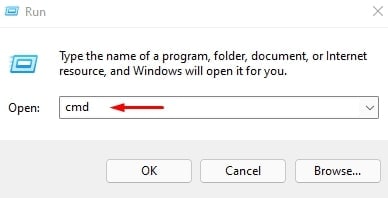
Step 1. Press Win + R to open the Run command windows. Then, type cmd and click OK.
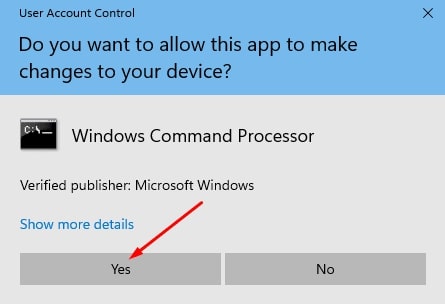
Step 2. Select Yes for User Account Control.
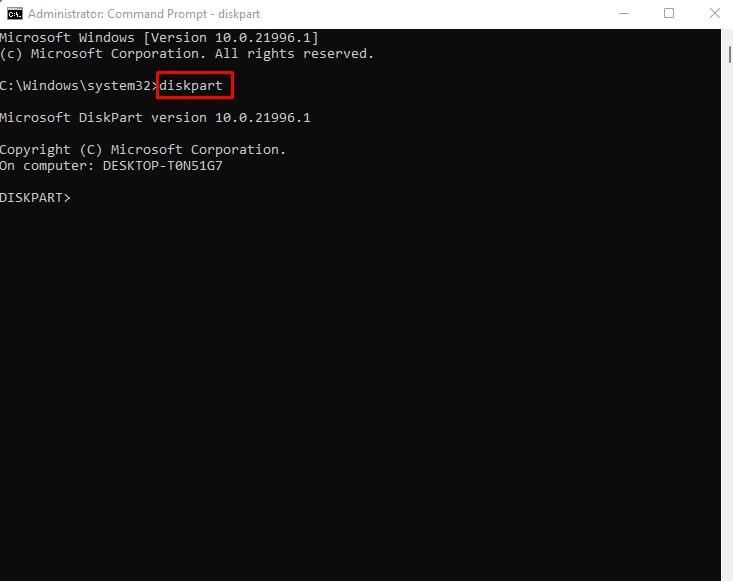
Step 3. Type diskpart in the command prompt and click Enter.
Step 4. Type the list disk command and enter.
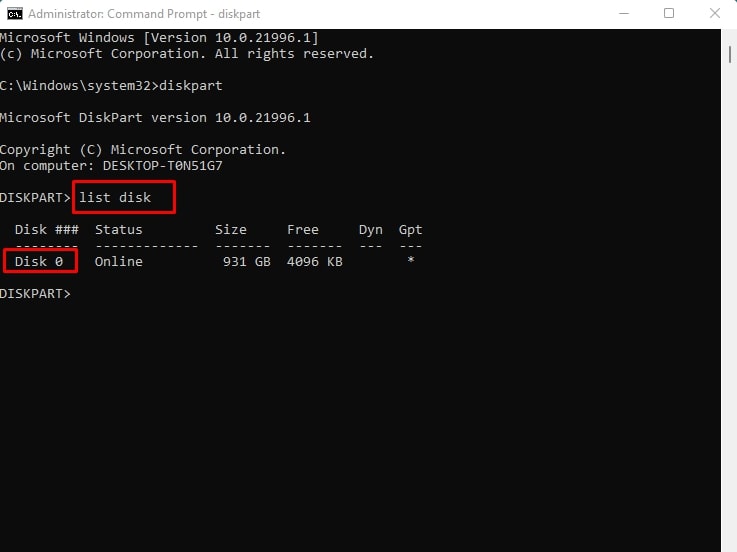
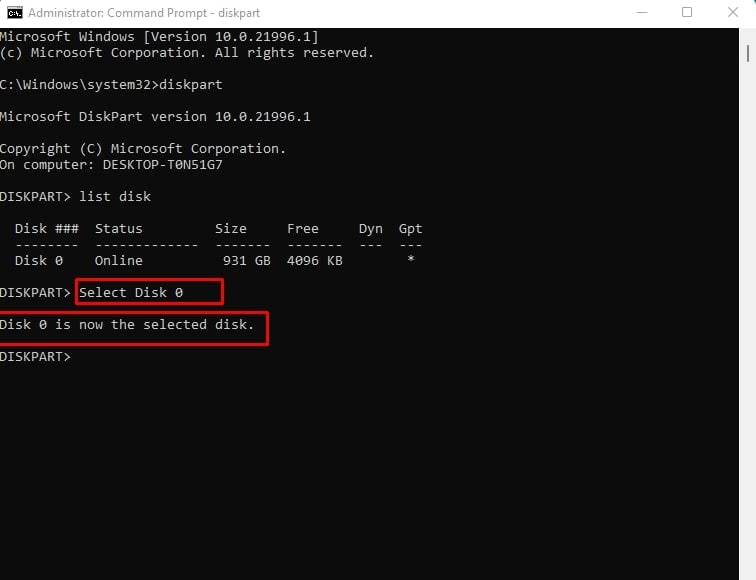
Step 5. Keep the value under Disk ### in mind. Type Select Disk Disk (Number). Replace the Disk Number with the value you saw.
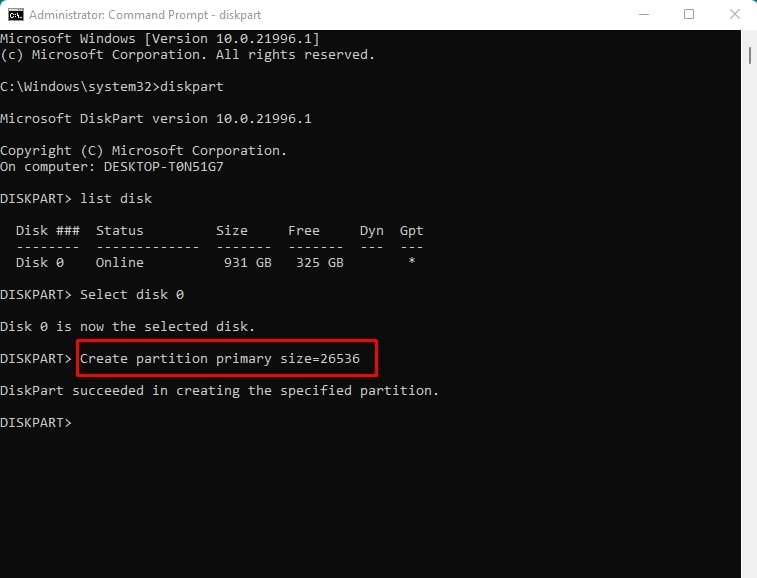
Step 6. Enter the Create partition primary size=(PartitionSize) command. Change the Partition Size with the value you need.
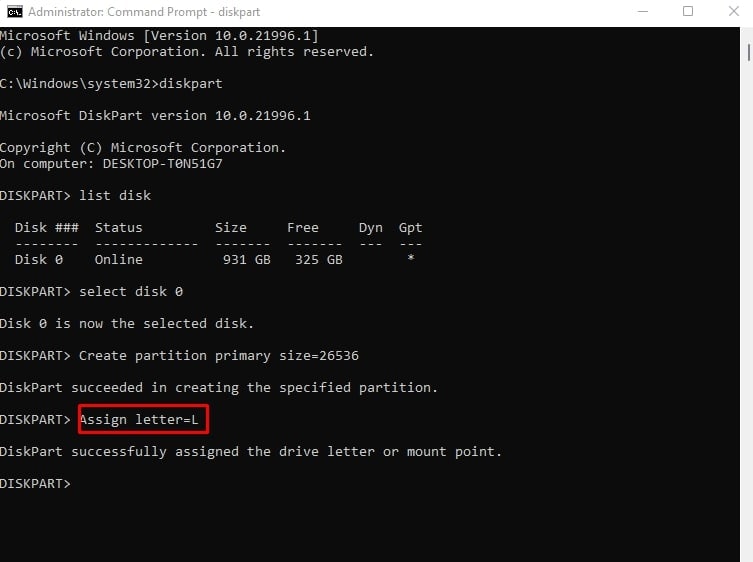
Step 7. Type the Assign letter=(DriveLetter) command and click Enter. Replace the Drive Letter with a letter that is not already used. Finally, enter the exit command. A partition on your Windows 11 hard disk will be successfully created.
Part 2. How To Delete Hard Disk Partitions on Windows 11
Creating multiple partitions on your hard drive and storing different data on each partition is a great option to manage your computer better. However, some partitions may fill up quickly, resulting in a lack of free space on the partitions and, as a result, the PC slowing down. It is why you want to delete a partition in Windows 11.
Furthermore, suppose you want to expand another partition but need more unallocated space on your disk. In that case, one workable solution is to delete the entire partition with unimportant files or folders, allowing you to free up disk space and make good use of the space to enlarge another.
Follow the steps below to remove partitions in Windows 11 using Disk Management:
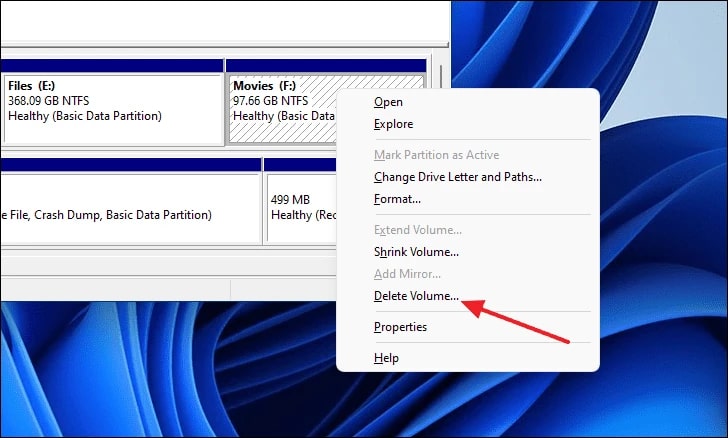
Step 1. In the Start Menu, type Disk Management. Then, in the Disk Management panel, right-click the drive or partition and select Delete Volume.
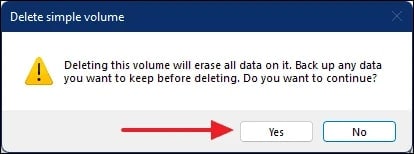
Step 2. Click Yes to confirm the deletion of the partition. Then your Windows 11/10 disk has been successfully deleted or removed.
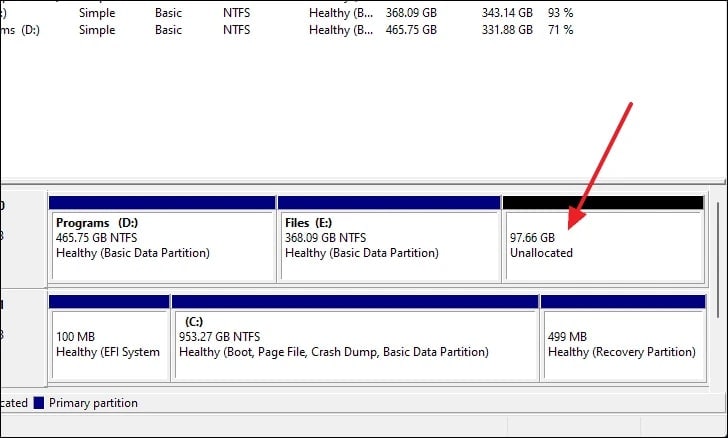
Step 3. After you delete the drive, you will see Unallocated space on the drive of the exact size of the disk you deleted.
Part 3. How To Recover Accidentally Deleted Disk Partitions on Windows 11
Losing data is one of the most frightening risks of partitioning your hard drive. No matter how carefully you partitioned the disk, you may lose some or all of the critical files or apps you have.
In this case, you need to use a safe hard disk data recovery tool in unforeseen data loss scenarios. Luckily, Wondershare Recoverit is available to assist you. Wondershare Recoverit bills itself as a top-tier data recovery program for Mac and Windows, promising a high recovery rate and dependable security.

Wondershare Recoverit – Leader in Data Recovery
5,481,435 people have downloaded it.
Recover over 1000 file types from almost any storage media, such as SSDs, HDDs, USB flash drives, SD cards, external hard disks, etc.
Efficiently handle various data loss scenarios, including accidental deletion, emptied recycle bin, formatting, lost partition, virus attack, and power failure.
An intuitive interface that lets you preview the files before recovery. No payment is required if the files are unrecoverable.
Follow the steps below to recover data from accidentally deleted disk partitions on Windows 11 with Wondershare Recoverit:
Step 1. Select Lost Partition
Startup Recoverit after the installation. Then, choose Lost Partition under the Hard Drives and Locations section.

Step 2. Scan for Missing Data
The deleted disk partition recovery software will scan the drive for missing data and files.

Step 3. Preview and Recover
You can preview all listed files after the scan. Pick the files you want to restore and then tap Recover to save them to a safe location.

Part 4. How To Extend the Size of Hard Disk Partitions on Windows 11
There are several reasons why you should expand a disk volume. However, the most common reason is that you require more space in a given drive. If one of your Windows computer's disks runs out of space, you can increase its capacity by using unallocated space on your hard drives. This method is helpful because you only have to format part of the volume to partition it. Shrink one to expand another using the Disk Management tool.
So, how do you increase (or extend) the size of a hard drive volume in Windows 11? Adhere to the following steps.
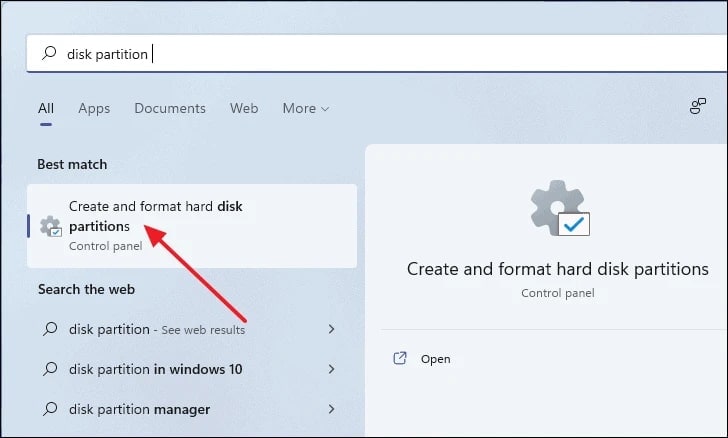
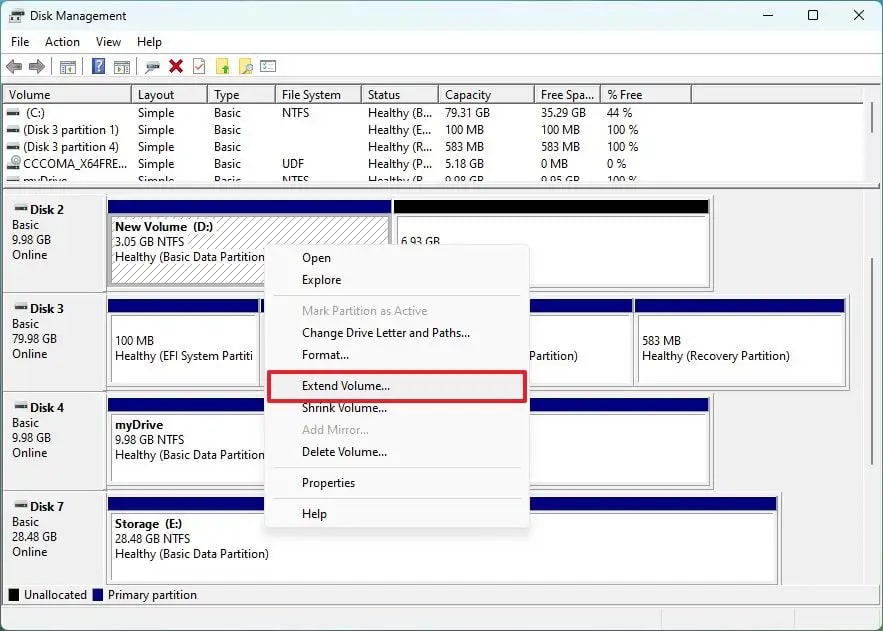
Step 1. Look for Create and format hard disk partitions in the start menu. Then, open Disk Management. To change the partition size, right-click the drive and select Extend Volume.
Step 2. Click Next. Choose the disk with available space from the Selected section. Tap Next and Finish.
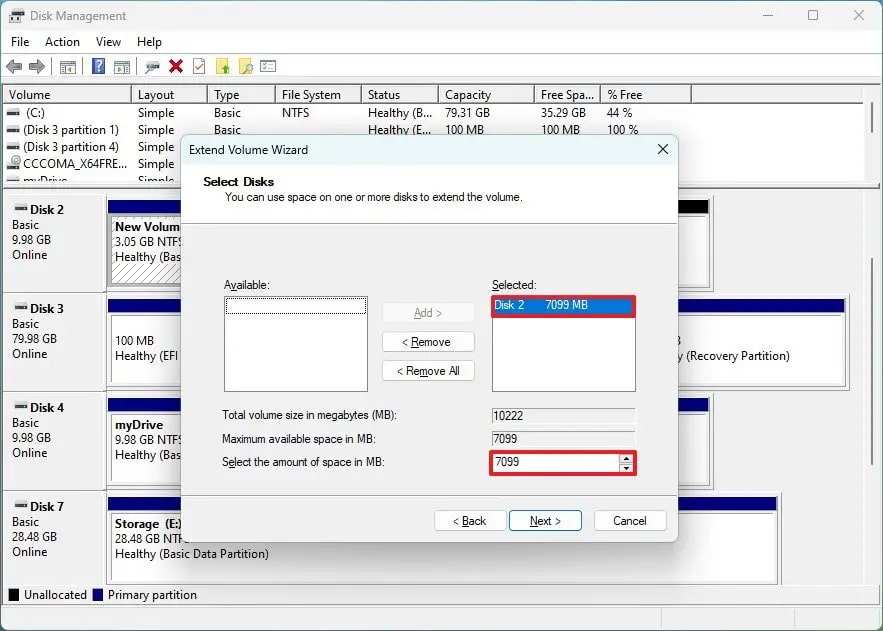
After completing the steps, the drive partition will be expanded to the specified size. If the Extend Volume option is greyed out, there needs to be more space on the drive to increase the volume.
Part 5. Why Should You Partition a Hard Drive on Windows 11?
Partitioning a hard drive can be helpful in various ways. And listed below are the reasons why you should partition a hard drive on Windows 11:
- Improved data organization. As we all know, partitioning a hard disk creates several distinct logical drives to organize your data on each partition.
- Operate multiple operating systems. Having separate drive partitions is required if you want to run multiple operating systems on your computer. It is because each operating system requires its independent partition.
- Minimize the risk of losing data. There are numerous potential threats to our computers today, such as virus infection, hardware failure, software malfunctions, etc. All of them can cause serious system failures and data corruption. As a result, you should have at least two partitions on your PC, one for the operating system and one for personal data. In this case, your data will be preserved even if you need to reinstall the operating system.
- Efficient backup and restoration. To back up your data more effectively, partition the hard disk so that backing up all the partitions separately is much easier than backing up the entire disk. It's the same when it comes to restoring data from backups.
- Selective when encrypting a drive. Many users now encrypt their hard drives to ensure data security. As a result, if you've partitioned a disk, you'll be able to choose which partitions to encrypt and which not.
Part 6. How Many Disk Partitions Should You Create for Windows 11?
The number of partitions you should create on your hard drive is determined by the size of the hard drive you have on your computer. It is recommended that you create three partitions on your hard drive. One is for your operating system, another for your programs, such as software and games, and the last for personal files, such as documents or media.
If you have a small hard drive, such as 128GB or 256GB, you should NOT create any additional partitions. It is because it is highly suggested that your operating system be installed on a drive with a minimum capacity of 120-150GB. You can create as many partitions as you need if you have a 500GB to 2TB hard drive.
Summing Up
This article primarily discusses how to partition a hard drive in Windows 11. If you decide to partition a hard drive, we have introduced two capable disk partitioning utilities to assist you: Windows Disk Management and DiskPart. The steps to delete and extend a hard drive partition were also mentioned above.
Also, if you accidentally delete your disk partitions, you can easily recover them using the best recovery software, Wondershare Recoverit. Try it now!
For Windows XP/Vista/7/8/10/11
For macOS X 10.10 - macOS 13

