
Whether your device has slowed down over the years or you want to upgrade to the latest version of the OS and keep the installation media, you can do so by reinstalling macOS. For that, you’ll need to create a bootable macOS USB.
This guide will teach you how to put a Mac ISO to USB to refresh your system. We’ll review the process of making a USB macOS installer, show you how to use it, and elaborate on recovering data from a previous installation.
In this article
What Do You Need To Create a Bootable macOS USB?
Although creating a bootable macOS USB is undoubtedly more complicated than doing so with a Windows or Linux system, you don’t need any additional tools or specific hardware. Namely, the prerequisites to creating a bootable USB loaded with macOS are pretty simple. Here’s what you’ll need:
- A 16GB or larger USB flash drive.
- A Mac computer.
Once you have these two prerequisites, you can move on to bootable USB creation, which you’ll find below.
4 Steps To Create a Bootable macOS USB?
The journey to installing macOS is straightforward and only takes a few steps. However, you must carefully follow the steps as you might damage your installation file otherwise. The steps are described in detail below, and if you stick to them, you’ll quickly and efficiently create a bootable Mac USB. Here’s everything you’ll need to do:
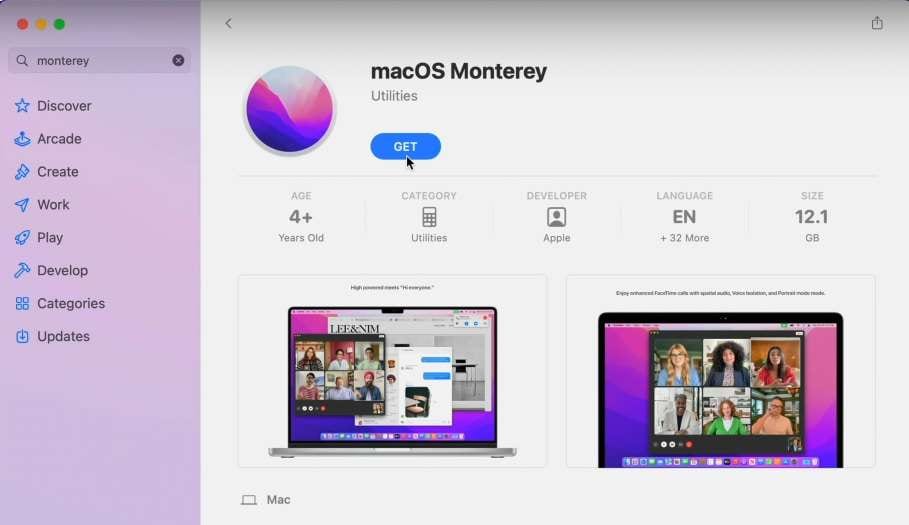
Step 1: Download the appropriate macOS version
You can download macOS Ventura, Monterey, Big Sur, Catalina, Mojave, and High Sierra from the App Store. Alternatively, you can download older versions like Sierra, El Capitan, or Yosemite through Safari, as they’re only available as disk images and are no longer in the App Store.
Before you move on to creating a bootable installer for macOS, it might be worth checking beforehand what the latest version of macOS that your Mac can handle is. Older hardware might not support newer operating system versions. You can do that by checking online.
Moreover, searching for a particular macOS version and seeing the installation in Mac’s App Store is a good indicator that your Mac is compatible with that operating system version. Apple will likely state it in the description part if your hardware and software aren’t compatible.
Step 2: Format the USB drive by following these steps:
- Insert the USB into the Mac computer.
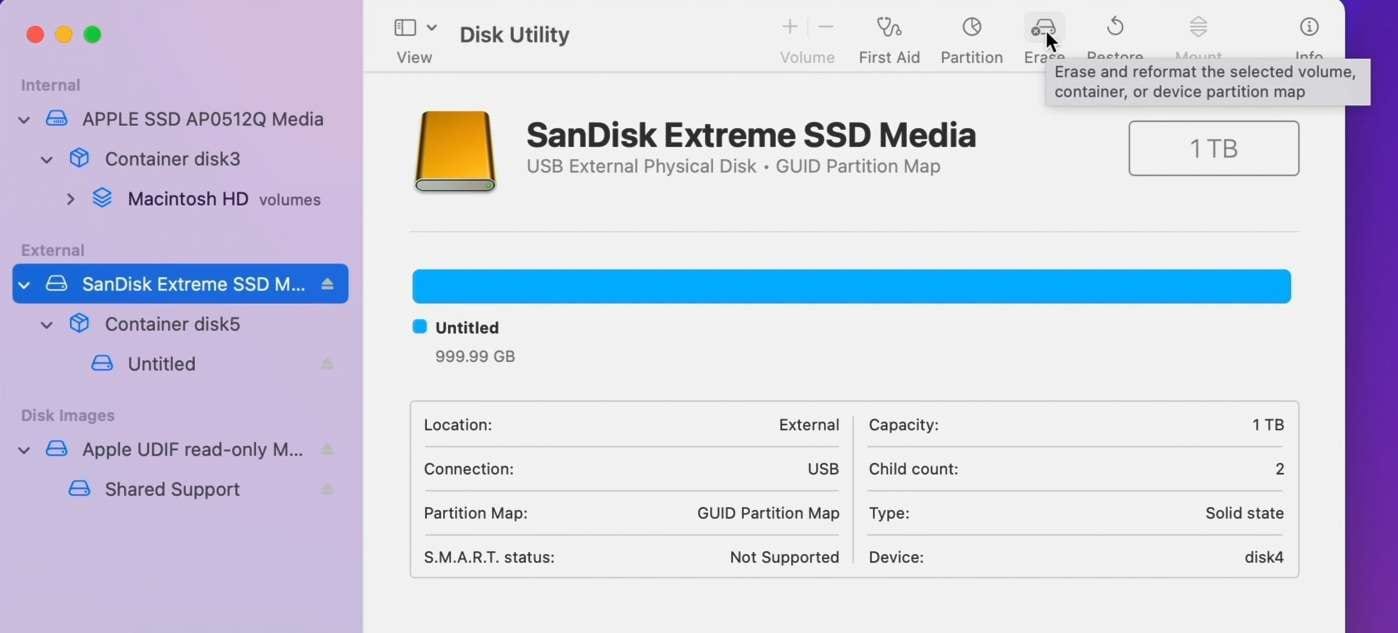
- Head into Applications > Utilities > Disk Utility (or access it through Spotlight).
- Select the USB drive on the left side and click Erase at the top of the screen.
- Give it a name or leave it as is. Then, choose Mac OS Extended (Journaled) under Format and select GUID Partition Map under Scheme.
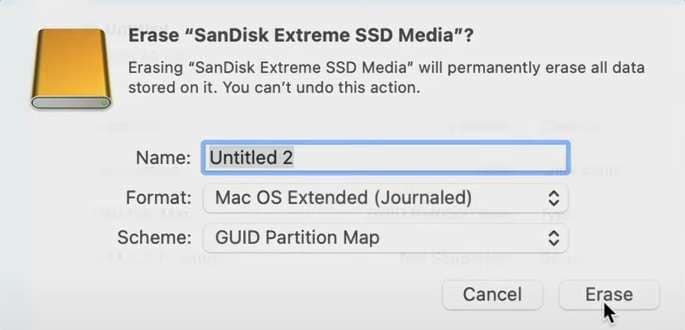
- Hit Erase and then Done when the formatting process completes.
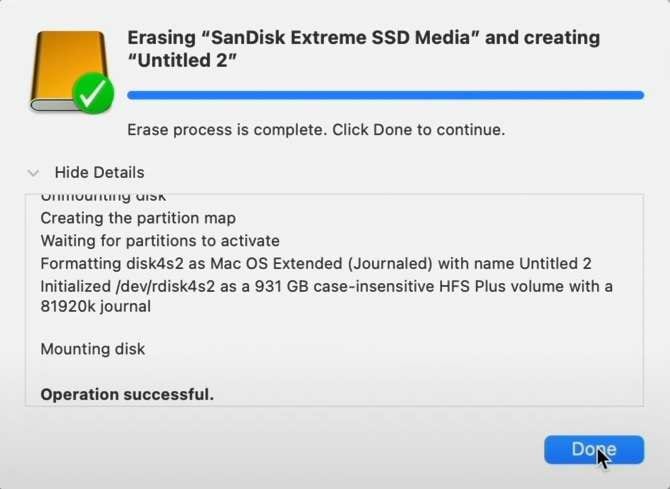
The entire operation should only take a few seconds, and you’ll have a USB stick ready for macOS installation files. Move on to the next part of the guide to see how to put the files on the USB.
Step 3: Create a bootable macOS USB by using Terminal.
- Head into Applications > Utilities > Terminal (or hit Command + F and type Terminal).
- Depending on the macOS version you’re using, enter these commands:
- Type in your password, hit Y on your keyboard, and press Enter to continue the operation.
Ventura:
sudo /Applications/Install\ macOS\ Ventura.app/Contents/Resources/createinstallmedia --volume /Volumes/Untitled\ 2
Monterey:
sudo /Applications/Install\ macOS\ Monterey.app/Contents/Resources/createinstallmedia --volume /Volumes/Untitled\ 2
Big Sur:
sudo /Applications/Install\ macOS\ Big\ Sur.app/Contents/Resources/createinstallmedia --volume /Volumes/Untitled\ 2
Catalina:
sudo /Applications/Install\ macOS\ Catalina.app/Contents/Resources/createinstallmedia --volume /Volumes/Untitled\ 2
Mojave:
sudo /Applications/Install\ macOS\ Monterey.app/Contents/Resources/createinstallmedia --volume /Volumes/Untitled\ 2
High Sierra:
sudo /Applications/Install\ macOS\ High\ Sierra.app/Contents/Resources/createinstallmedia --volume /Volumes/Untitled\ 2
El Capitan:
sudo /Applications/Install\ OS\ X\ El\ Capitan.app/Contents/Resources/createinstallmedia --volume /Volumes/Untitled\ 2 --applicationpath /Applications/Install\ OS\ X\ El\ Capitan.app
The process will take a few minutes to complete, as it first wipes the USB’s data and then copies all the necessary installation files to the USB stick, so give it time.
Step 4: Install macOS with a USB installer:
For Macs with Apple Silicon:
- Plug in your USB stick and restart the Mac computer.
- Press and hold the Power button on your keyboard.
- Select the USB with the bootable installer and hit Continue when prompted with a boot screen.
For Macs with Intel processors:
- Plug in the bootable USB and restart the Mac.
- Power on your Mac and press and hold the Option (Alt) key on your keyboard while it’s booting up.
- Release the Alt key and select the USB with the installer when prompted.
- Select your preferred language and choose Install macOS under Utilities to begin macOS installation.
Once you’ve completed the steps above, you’ll quickly have a refreshed macOS installation, and your Mac computer will run smoothly again.
How to Recover Lost Data After Using macOS Bootable USB?
The abovementioned step-by-step guide makes creating a macOS USB installer much easier. You'll undoubtedly be happy with the refresh results once you boot your Mac from a USB and reinstall the system. However, the realization that you’ve forgotten to make a backup or couldn’t create one due to a corrupt previous OS and lost your valuable files can hit pretty hard.
Fortunately, there’s no reason for frustration, as your data might still be salvageable. That’s where Wondershare Recoverit comes in, as it’s an incredibly fantastic piece of software that can quickly and efficiently restore your lost files. The app has a recovery rate of over 95% and is one of the best recovery tools on the market for your Mac.
Whether you’ve lost files due to accidental deletion, drive formatting or damage, virus attacks or hacks, system crashes or failed updates, partition losses or accidental repartitioning, premature drive unmounting, or a wrongly reset macOS, Recoverit has your back. It can help in over 500+ data loss scenarios, restore 1,000+ file types, and support over 2,000 devices.
There are essential steps to getting your lost Mac data, and they focus on selecting, scanning, and recovering. Moreover, in the guide below, we’ve also included valuable filtering options to help make data recovery even faster. Here’s how you can recover precious data from your previous macOS installation with Recoverit:
- Launch Recoverit on your Mac.
- Select Hard Drives and Locations on the left side of the screen and choose the drive on which macOS is installed.

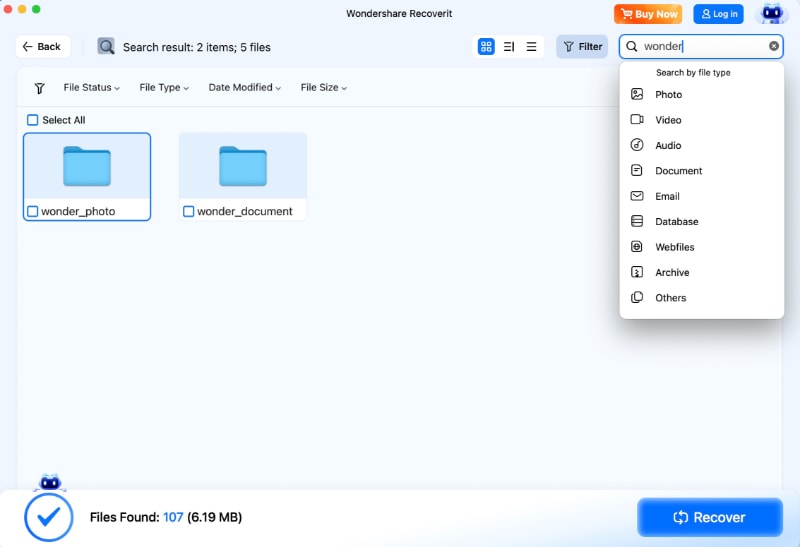
- The scan will begin automatically, and you can select the specific file types to look for and speed up the scan.

- Recoverit lets you preview deleted or formatted data, and you can adjust the search to narrow it down or filter found files with keywords.
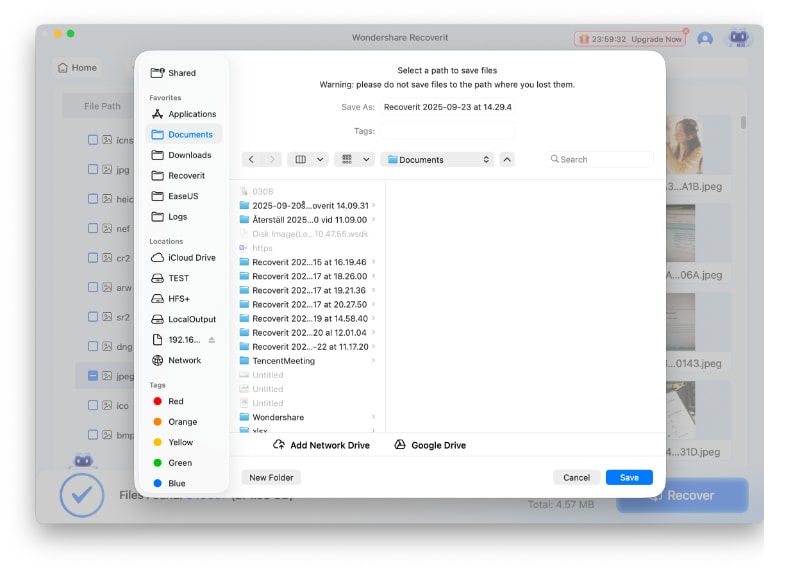
- Select the discovered data and click Recover.
- Choose a location and hit Save to save the retrieved data.
Regardless of the new installation, Recoverit can find data from your previous install and retrieve it in a few steps. And as you’ve seen above, the recovery process is incredibly beginner-friendly, intuitive, and straightforward.
Conclusion
Following the guide above, you can refresh your macOS system in a straightforward manner. And there is no need to worry about your vital data in the previous OS installation, as Recoverit will come to your rescue quickly and efficiently.

