
Jun 29, 2023 • Filed to: Photo/Video/Audio Solutions • Proven solutions
Resizing images doesn’t have to be done one by one or be a tedious thing to do. Why try to resize hundreds of images which will take you hours when you can easily bulk resize them? Luckily, you can easily bulk resize your images on a Mac or Windows using different free tools. Some require that you download the software while you can easily bulk resize with some other tools right on the web and have them downloaded to your computer.
In this article, you will learn 6 different ways that can help bulk resize images on Mac and Windows easily.
Solution 1: How to Bulk Resize Images with BatchPhoto
BatchPhoto offers the easiest and most efficient way for photo automation including resizing, cropping, renaming converting or even watermarking.
The most interesting thing about using BatchPhoto is that it offers services to process images, edit and can resize up to 170+ formats of images in JPG or PNG format and still restore the original image quality. Interestingly, no DSLR digital camera is left out as BatchPhoto also reads all RAW images generated from them and it's available for both Windows and MacOs for FREE.
Here is how to easily bulk resize images using BatchPhoto
Step 1: Download the BatchPhoto software. It has versions for both MacOS and Windows.
Step 2: Install the app and open.
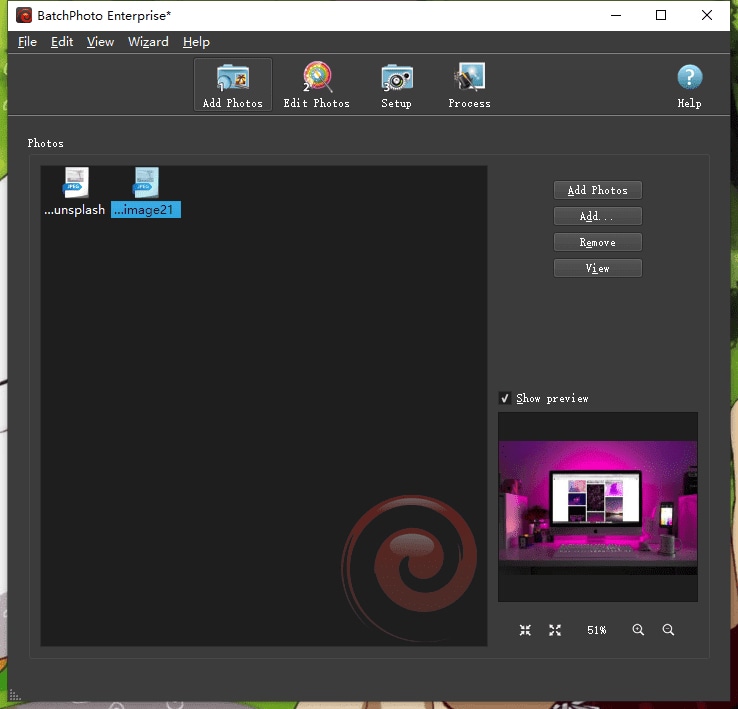
Step 3: Select Add Photos to import your images you want to resize to the app. In other cases, you can easily drag and drop your images into the app.
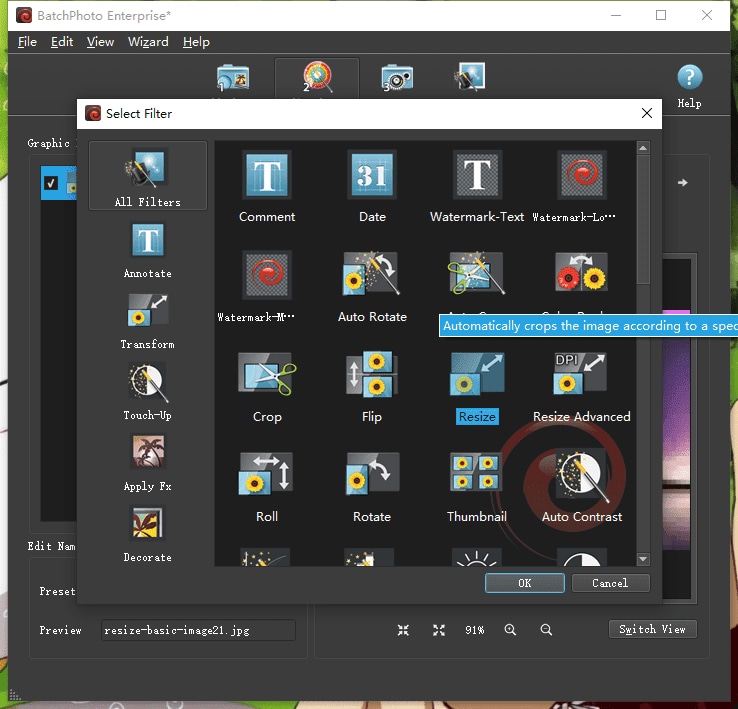
Step 4: Click on Edit Photos on the BatchPhoto app. Then add a filter and choose the resize option.
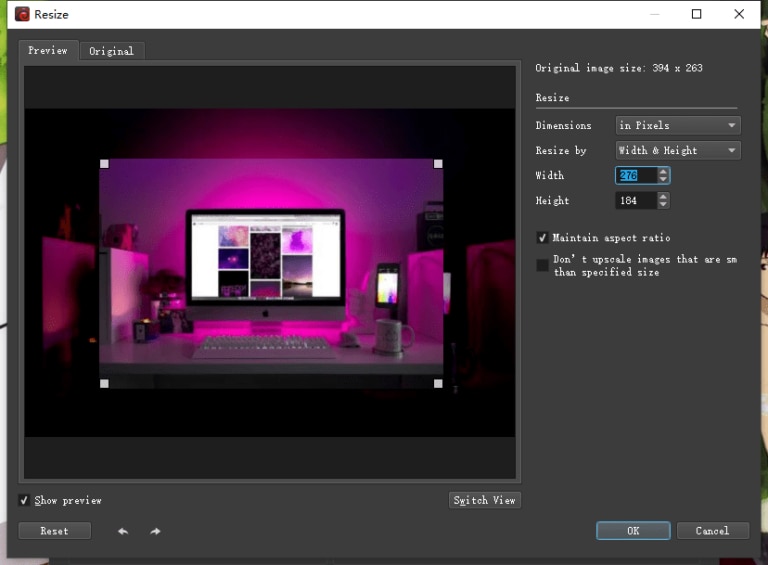
Step 5: Resize the images tailored to your taste. You can then preview the resized images and also check the original images in different tabs to check.
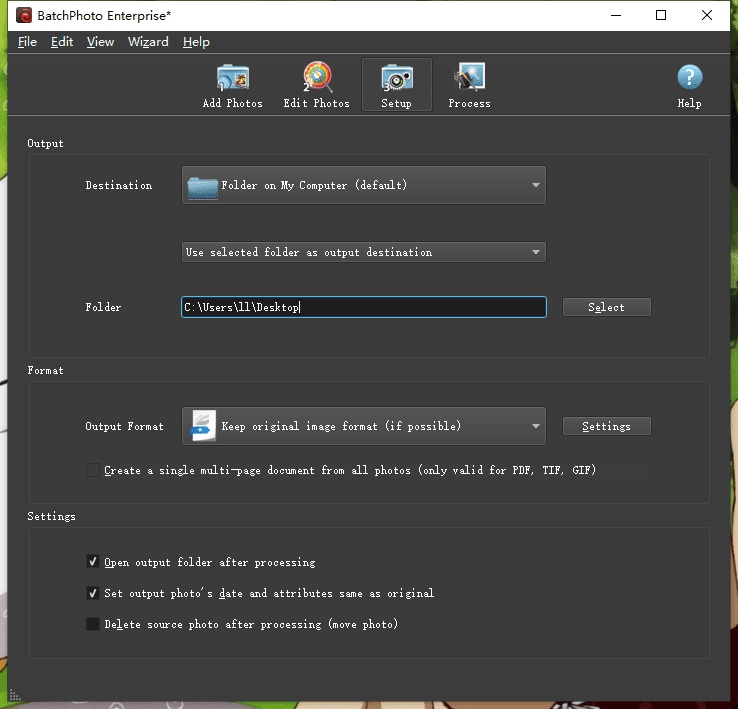
Step 6: After you are sure that you’ve resized the images to your needs, go to Setup on the app and select all the images and click Processto start bulk resizing images on your Windows or Mac.
Solution 2: How to Bulk Resize Images with Adobe Photoshop
If you use Adobe Photoshop for editing your images, then you can easily bulk resize your images in Windows or Mac without downloading another software. You can definitely bulk resize images with Photoshop.
It is however not recommended for first time users to bulk resize images as it might seem a little complicated but this doesn’t mean that it is impossible for first timers to do. A much easier tool like BatchPhoto will be easier to use.
Here is how to bulk resize images using Adobe Photoshop
Step 1: Select any of your images that you want to resize in Photoshop.
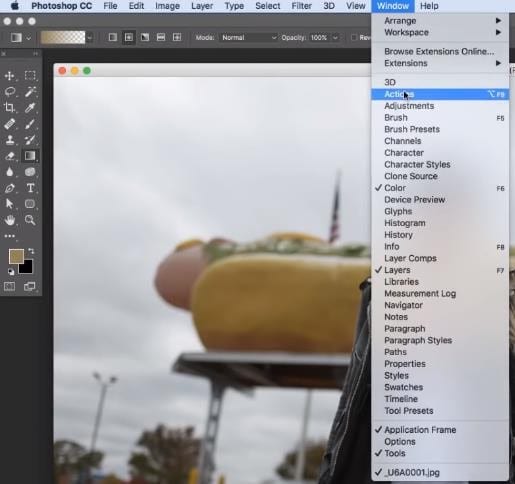
Step 2: Go to Window and select Actions.
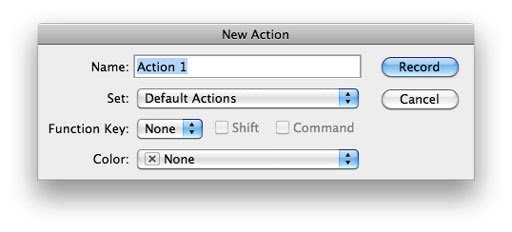
Step 3: Then create a new folder for the images you want to resize, rename it something you can remember.
Step 4: Click the new action icon, Rename and click on Record.
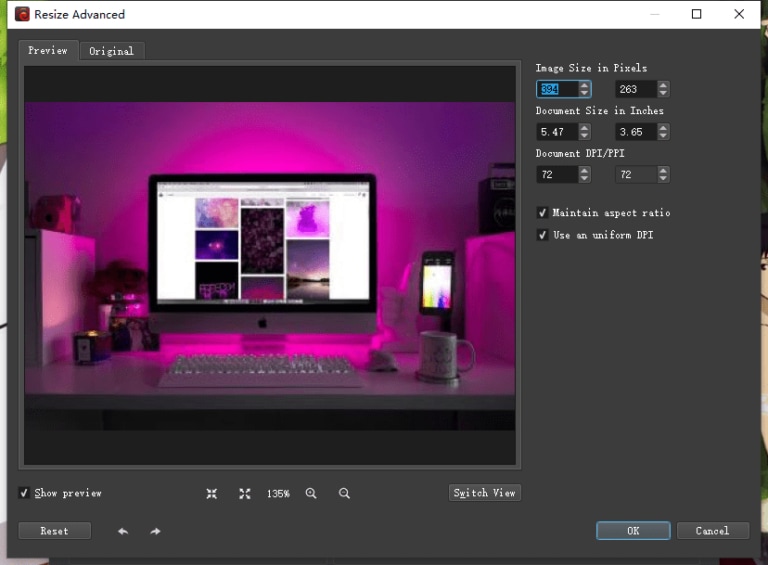
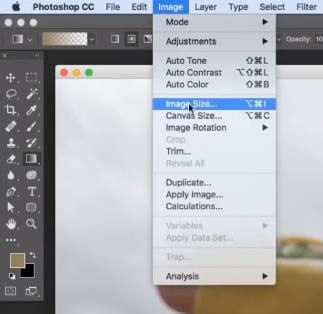
Step 5: Go to Image and click Image Size. In the image size panel, adjust the size to your needs and enter OK.
Step 6: Then Click File on the app and then, Save as, Rename and choose output format for the images.
Step 7: Pause the recording once the save action is ready.
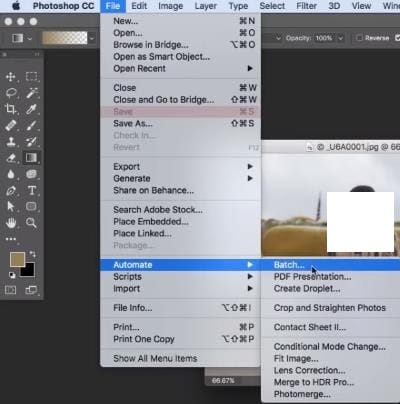
Step 8: Go to File, click Automate and then, Batch.
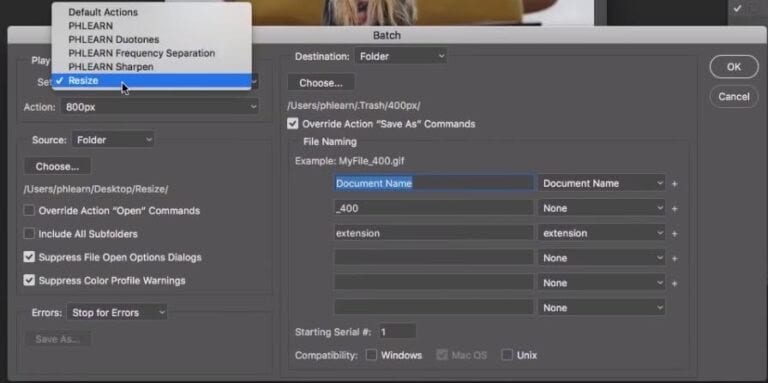
Step 9: Click Resize, then choose the file you renamed from the folder and then click OK and your images will be bulk resized in no time.
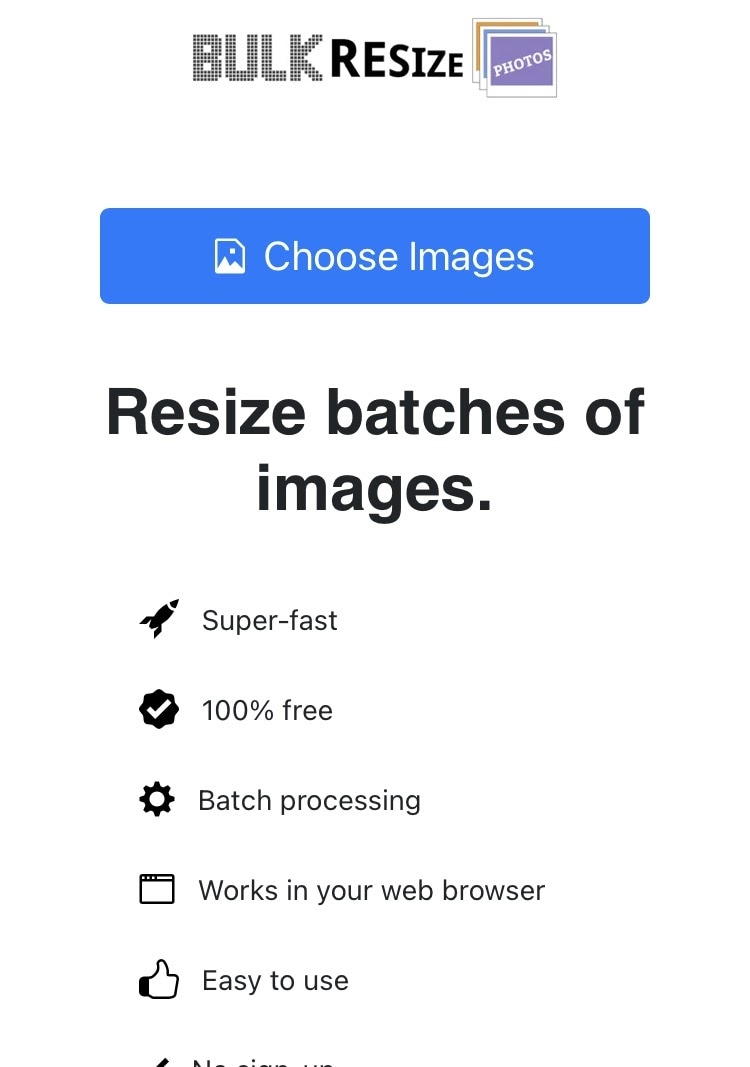
Solution 3: How to Bulk Resize Images with BulkResizePhotos
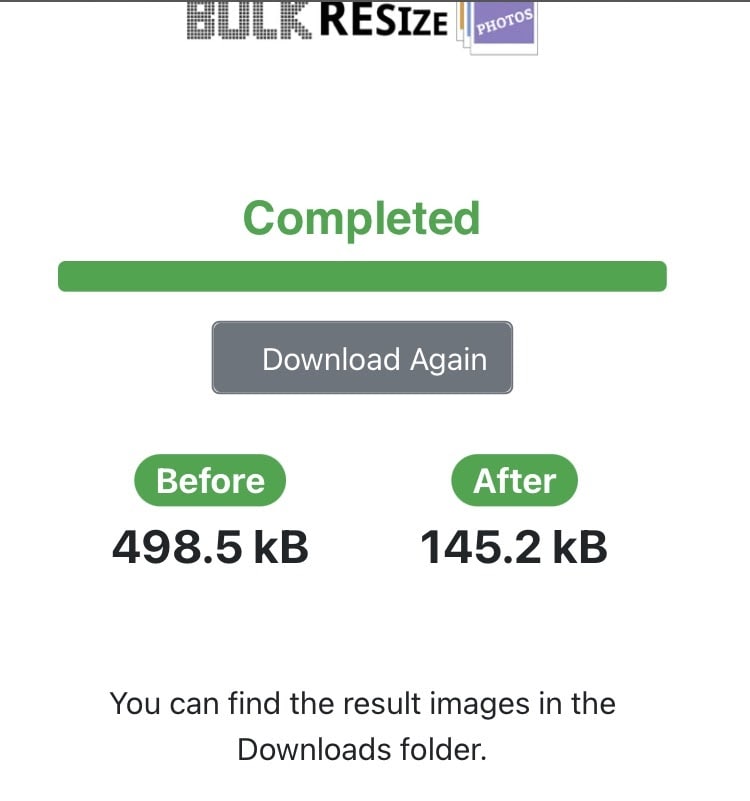
If you are looking for a free online too to bulk resize images, then BulkResizePhotos is what you need. It is an easy to use, free website that is superfast and allows you to quickly resize a large amount of pictures with batch processing. It can work on a web browser and it’s available for both Windows and Mac. The most exciting part about using BulkResizePhotos is that the photos are resized right on your Windows or Mac computer.
Here’s how to build resize images using BulkResizePhotos
Step 1: Go to BulkResizePhotos, and then you will click on the ”Choose Images” button. The picture folder on your Windows or Mac will open which allows you to select every image you need to resize.
Step 2: The website then takes to a page where you can choose options on what you need to do. There are three options Available- Scale, File Size and Exact Dimensions. You can the follow any of the steps below using any of the options to bulk resize images.
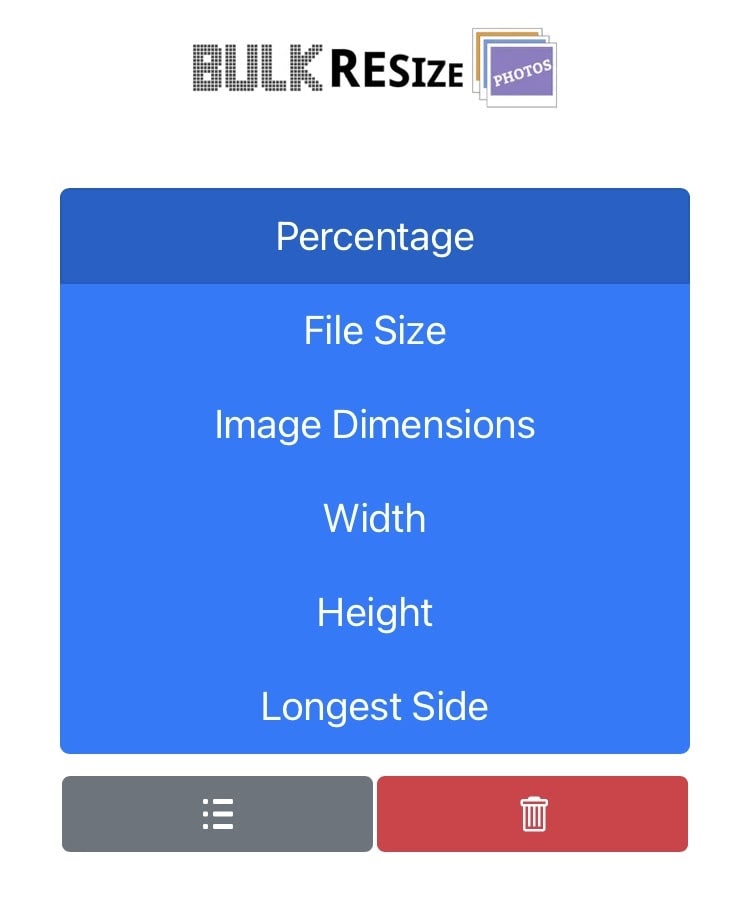
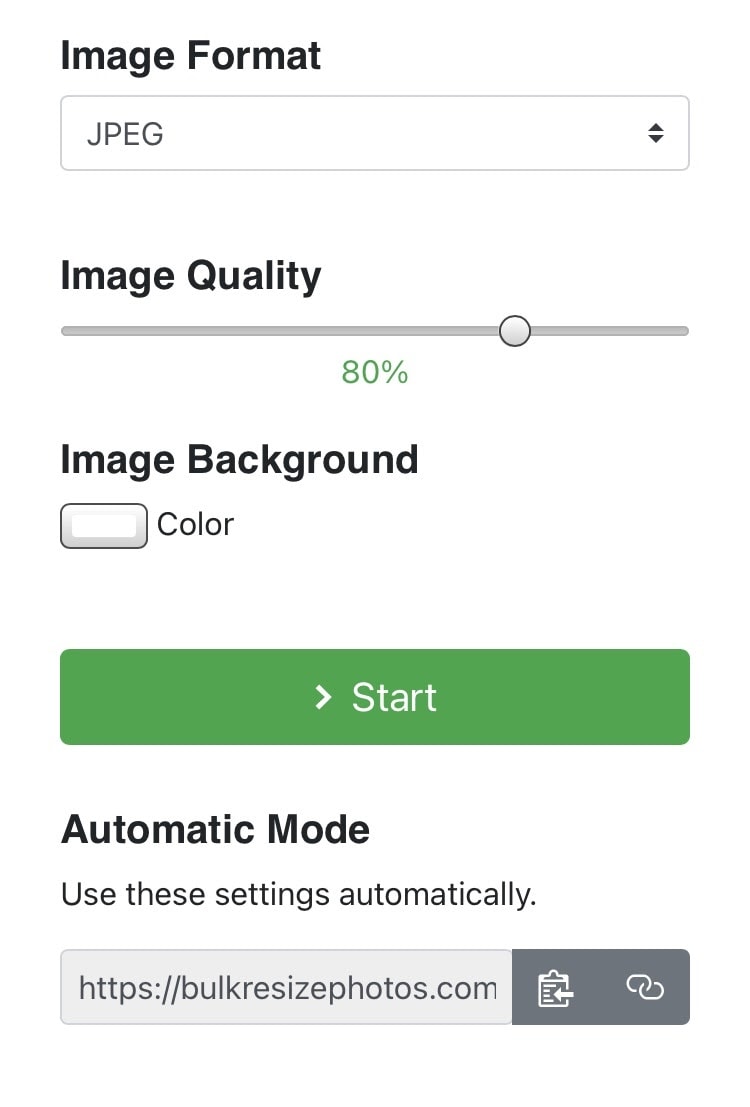
Step 3: The “Scale” option allows you to simply reduce the images by a certain percentage you choose to fit your need. However, the “File Size” option can only be used if you are concerned about saving space on your computer. The third option which is “Exact Dimensions” allows you to choose the exact dimensions you want the images to be in pixels. You should note that the Scale and Exact Dimensions options will make your work easier. Both of them just require you to click the “Start” button which automatically resizes your images and asks you to save to a folder on your computer. It is as simple as that.
Solution 4: How to Bulk Resize Images with Iiloveimg
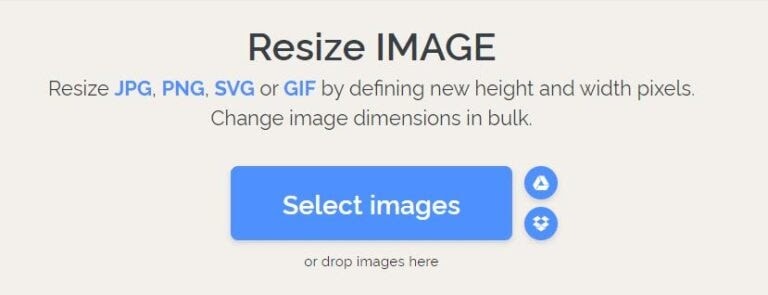
iloveimg is another tool you can use to bulk resize images on the web using either a Windows computer or a Mac. It allows you to resize images like JPG, PNG, SVG and GIF online for free. There’s however a premium version which goes for 4$/month with better features. iloveimg allows you to resize bulk images by either changing height, width, dimensions, or reducing by percentage. An interesting part of using iloveimg is that it can show you the original size of your resized images.
The benefits of using iloveimg is that it helps you resize fast. There are two resizing options you can use- either in pixel or in dimension. Images information are displayed while resizing, and you can upload files from your computer, google drive and dropbox. In contrast, there are bad sides to using iloveimg as you risk losing information and sometimes, image quality can be reduced.
Here is how to bulk resize images using iloveimg
Step 1: Go to iloveimg
Step 2: Drag and drop the images you want to bulk resize
.
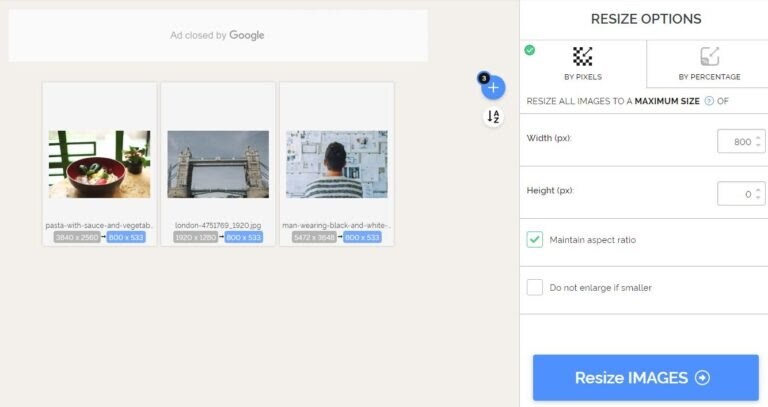
Step 3: Choose the resize option and tick the box before Maintain Aspect Ratio.
Step 4: Click Resize Images to start the bulk resize process.
Step 5: Save the resized images to your Windows or Mac computer.
Solution 5: How to Bulk Resize Images with PicResize
PicResize refers to itself as the “Internet’s Original Picture Resizing tool”. The tool allows up to 100 images to be bulk resized at once. It also allows changing the dimensions of multiple photos so easy.
Here is how to bulk resize images using PicResize
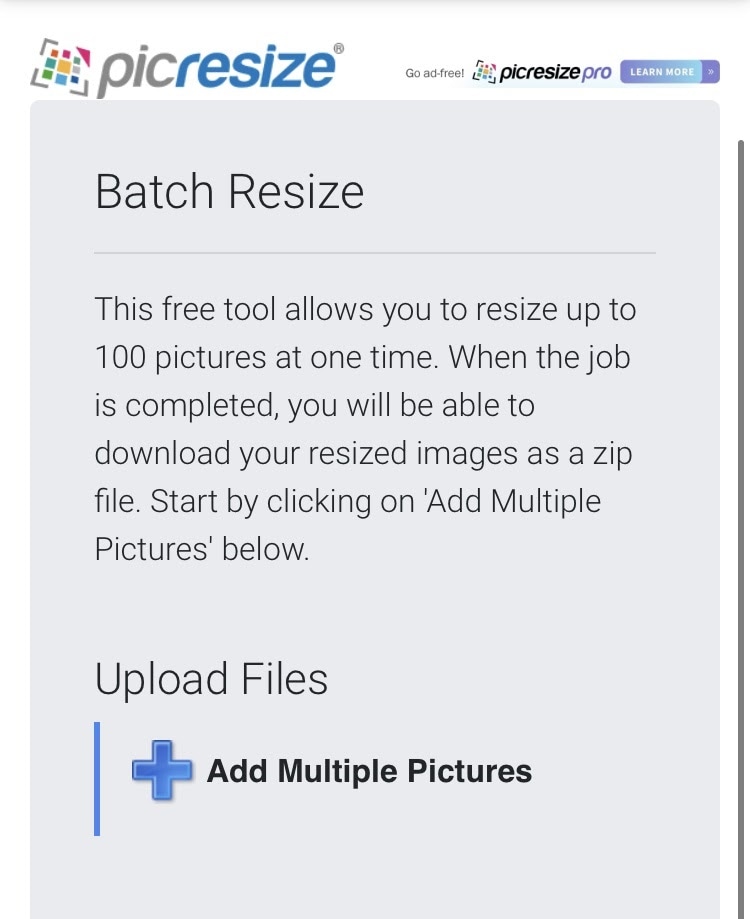
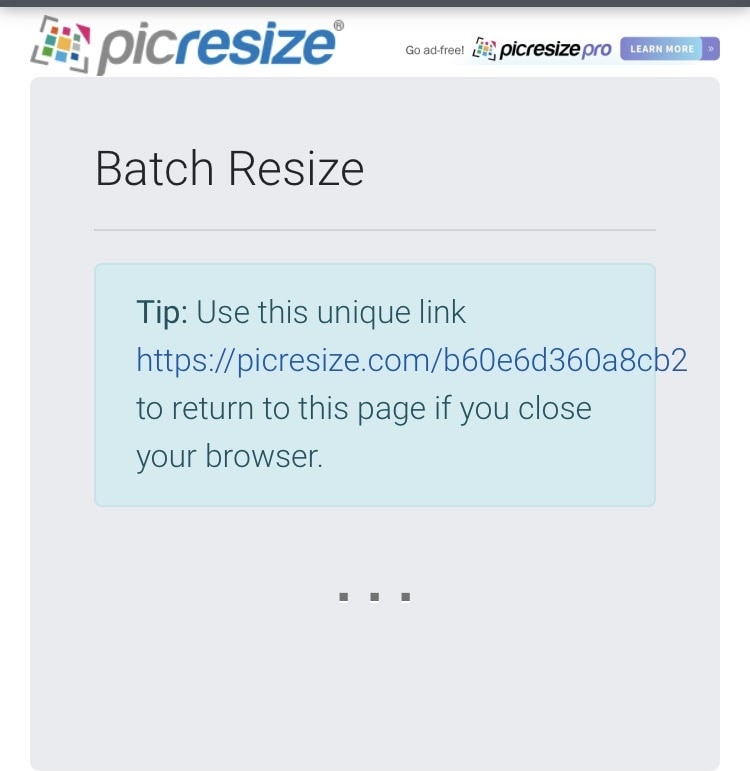
Step 1: Go to PicResize and click on either ”Batch Resize” or “Add Multiple Photos”. Now, add multiple pictures.
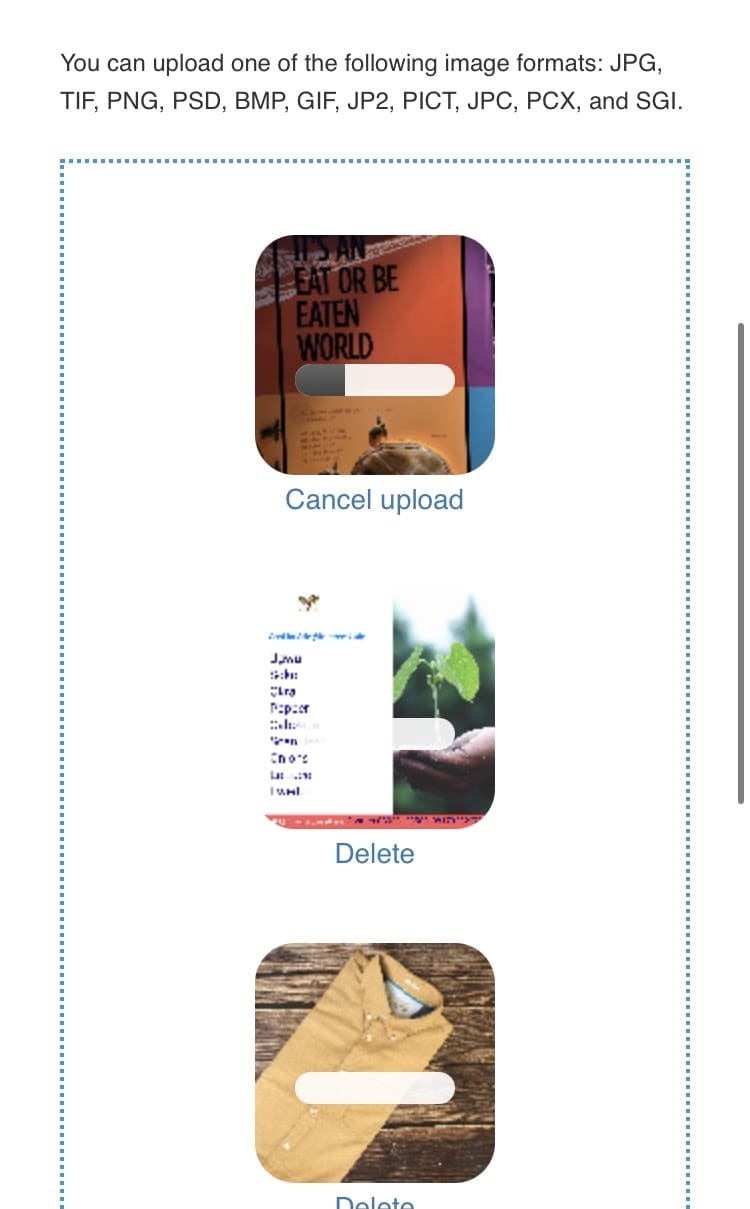
Step 2: Select all the images photos you need to resize and click the”Add” button.
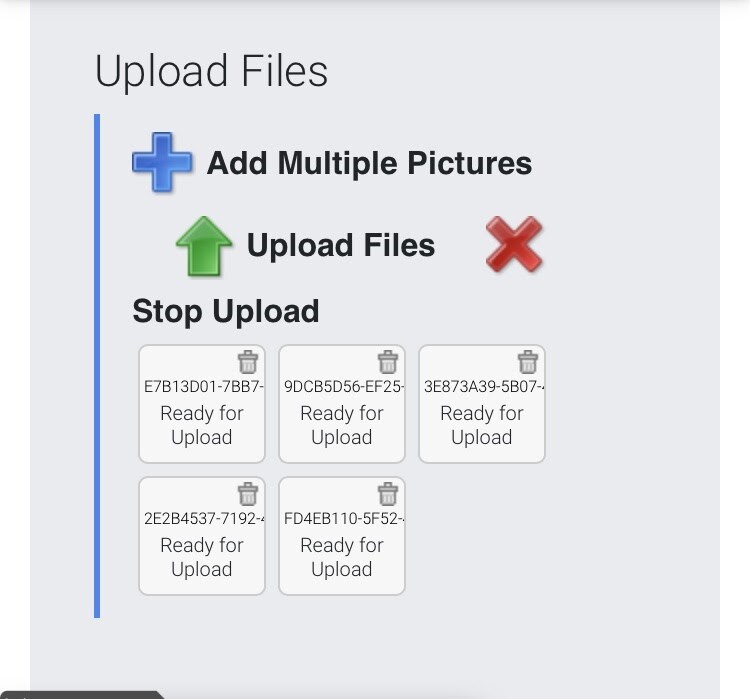
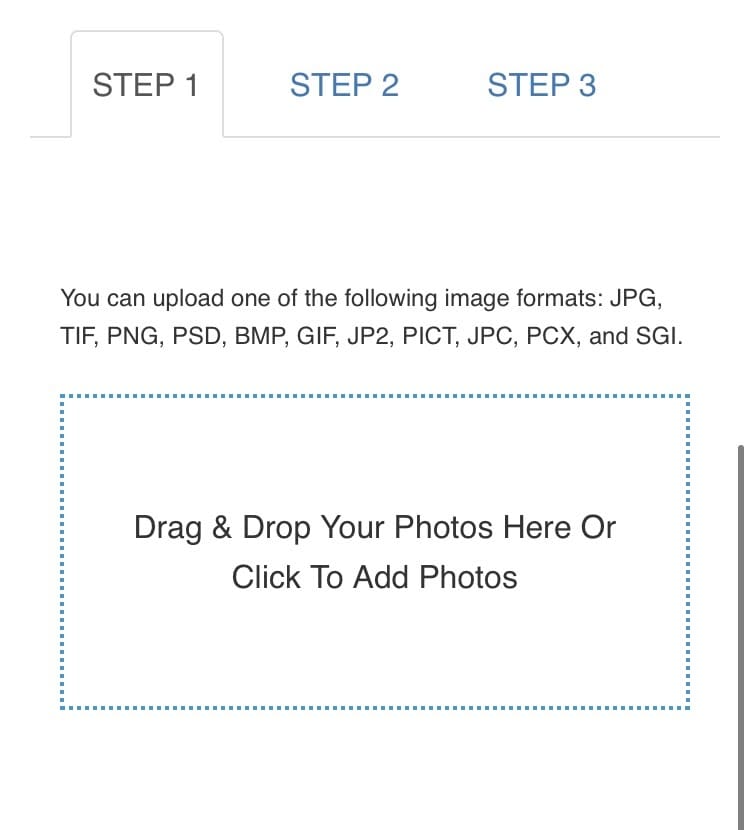
Step 3: You will be taken to a page to “Upload Files”. After all the images have been uploaded (this takes a little bit of time).
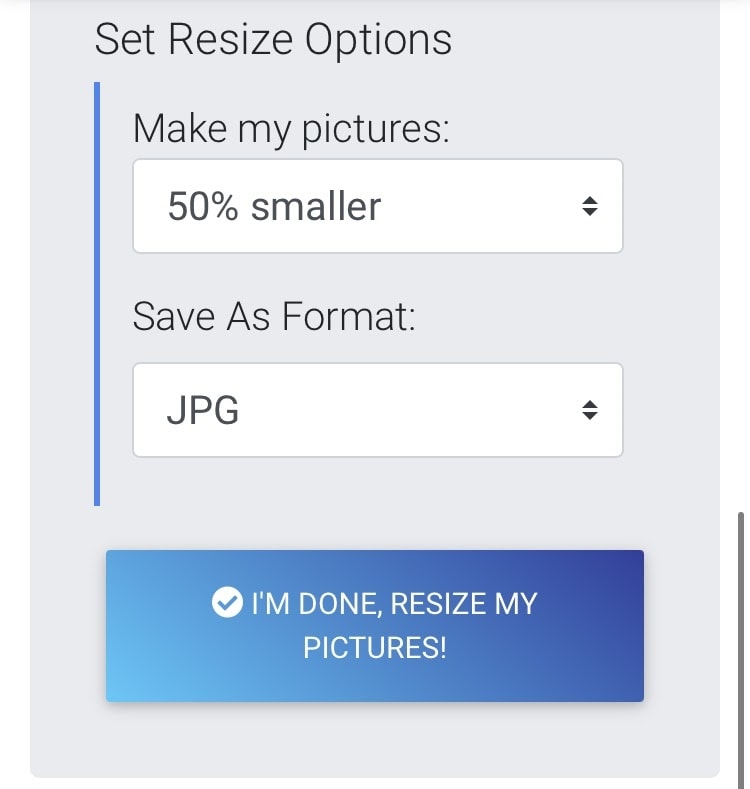
Step 4: Choose the size you want to resize the images to and the format you want them in.
Step 5: After doing that, click on the blue ”I’m Done! Resize My Photos!” button which will show the progress of the images being resized. However, you should note that a notification will pop up stating that all of your images will be immediately deleted. There is no need to worry about this.
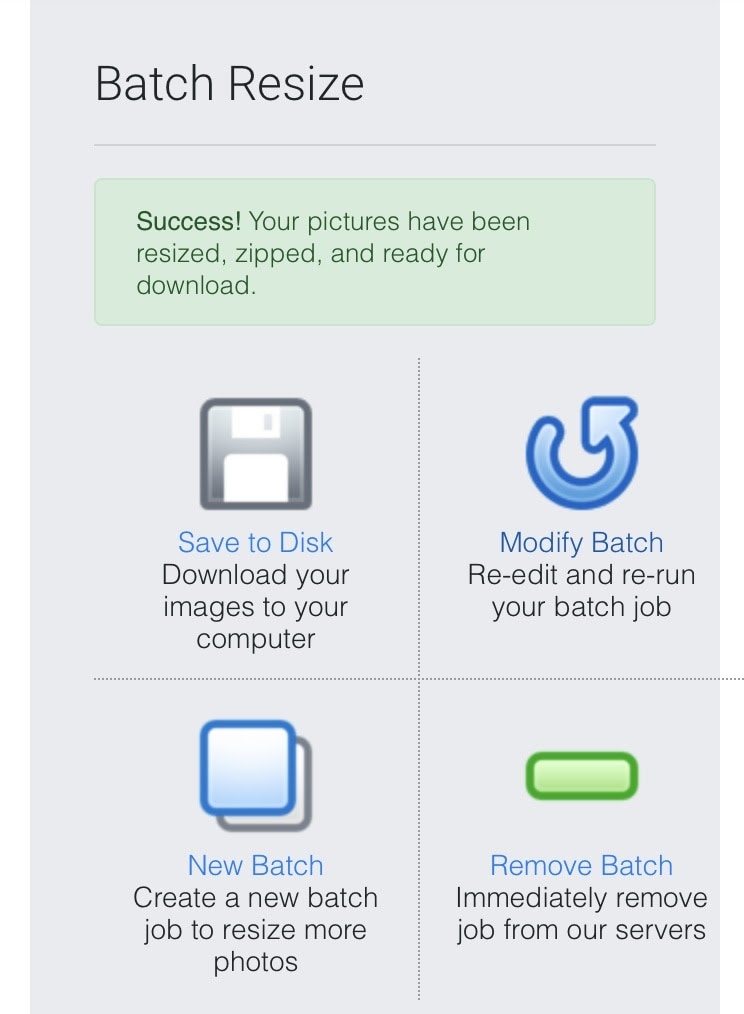
Step 6: A window will then open notifying you that all your images have been successfully resized. You can now download the zipped files from your computer, after which you would re-edit to change the file type or size,
Step 7: Create a new batch of images and then delete immediately from the PicResize servers. Then click “Next” when the images have been imported.
Step 8: Click “Presets”from the menu and select the dimension you want for your images. You can also choose “Custom” to enable you to choose your preferred custom size. C
Step 9: Tick the checkbox close to Keep ratio and click Next. Note: Ensure that the checkbox next to “Rotate” is unchecked.
Step 10: Finally, choose the folder for the bulk resized images, select the output format you want , and then click Convert. You’d find the resized images in the destination folder you saved it to when the process is complete.
Solution 6: How to Bulk Resize Images with Photosize
If you don’t feel the need to install another app in order to resize bulk images on your Mac or Windows, then PhotoSize what you need. PhotoSize is a free online tool that can help you resize a lot of images at the same time.The process of bulk resizing using PhotoSize is very simple and in Just 3 steps.
Here is how to bulk resize images using Photosize
Step 1: Go to PhotoSize. Drag and drop images or click to Add photos.
Step 2: Add your images, then apply the Resize filter to fit your needs.
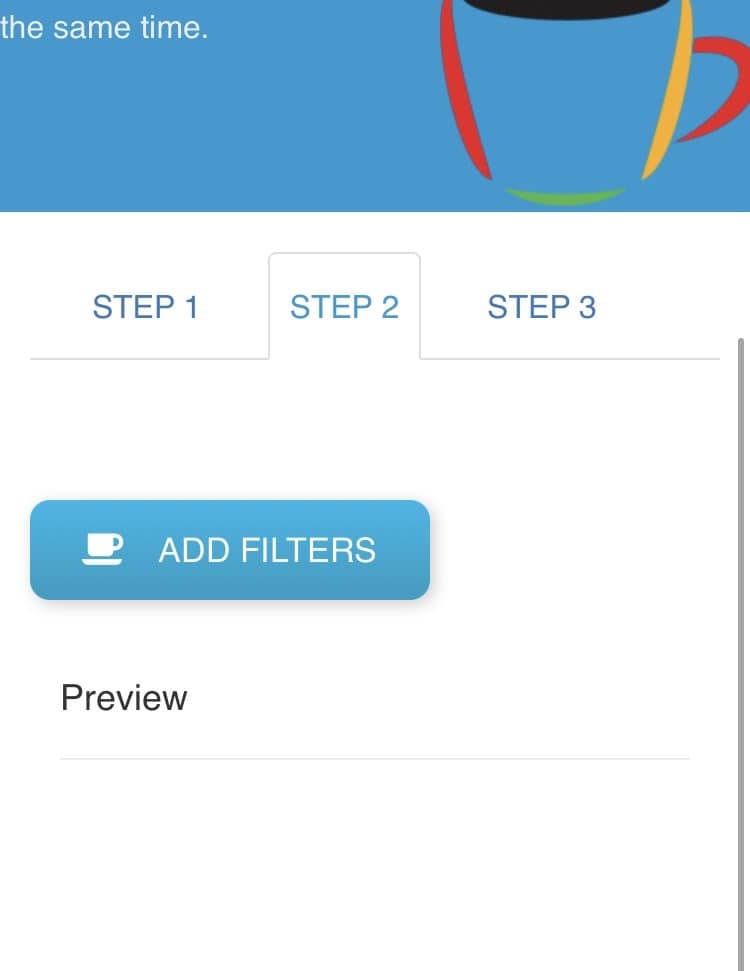
Step 3: choose the image format you want and save to the destination folder you prefer.
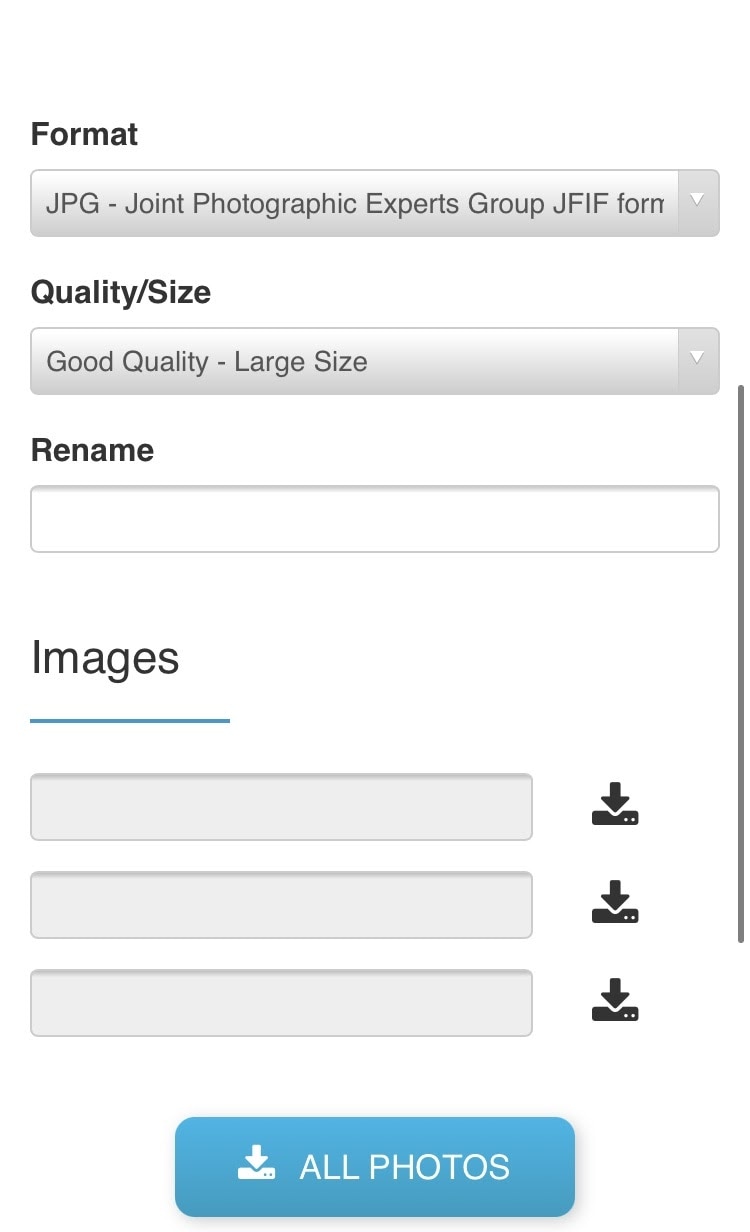
The Resize filter that PhotoSize offers gives you the possibility to choose from a variety of presets automatically , or to manually enter the desired sizes for your images. Another benefit of using PhotoSize is that it allows you to upload and export to any of the image formats including JPEG, PNG or GIF. PhotoSize also offered cropping, rotating and retouching options in bulk in addition to resizing and it’s available for both Windows and Mac.
Resizing images one by one consumes a lot of time and you definitely don’t want to be in that position when you can bulk resize them in a few minutes. With the right tool from any of the ones discussed you can bulk resize your images. Hope you find strategies in this article helpful and it helps you save a lot of time.


Theo Lucia
chief Editor