Solved: Can’t Install Windows 10 on SSD
Windows 10 is the newest operating system by Microsoft. It's an improvement from the previous Windows 8 and 7. It's very user-friendly and ensures better security and protection. Solid-state drives or SSDs are an upgrade from hard disk drives or HDD. They're lightweight, less prone to scratches, hence less prone to corruption. The transfer speeds are also excellent. If you've recently installed your new Windows 10 to your SSD but failed to do so, it might be due to some errors.
What is "Can't Install Windows 10 on SSD" Error?
This is usually in the prompt telling you that Windows is unable to install on your disk because the hardware doesn't support booting to the disk. It might also ask you to enable the disk's controller in the BIOS menu. This may be due to damaged partitions or just basic problems with your SSD.
If you've recently upgraded to Windows 10 or purchased a new SSD but are experiencing problems with Windows 10 installation in your SSD, keep on reading. Here is a comprehensive guide on how to fix Windows 10 that won't install on your computer's SSD.
Method 1 - Preliminary fixes
Before proceeding to more complex solutions, here are things you might want to check out first.
1. Newly install Windows 10 to the partition in your HDD. Then, clone this to your SSD.
2. Ensure that your SSD is connected properly to your computer.
3. Check if you're currently running the latest version of BIOS.
4. Make sure that your SSD is in the right slot. Your laptop will tell you where exactly to put it. Although this doesn't usually matter if your computer tells you a particular slot to place it in, put it there.
5. Make sure UEFI is active and not corrupted.
6.SATA should be set on AHCI mode.
Method 2 - Convert your disk to GPT
1. Go to BIOS and set the SATA to this: AHCI Mode.
2. Click on Enable Secure Boot if it appears on the screen.
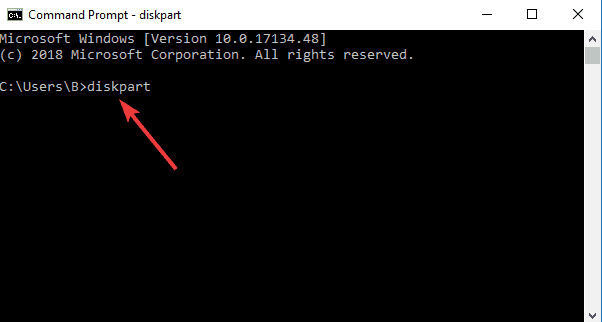
3.If the SSD still doesn't show, launch Command Prompt by typing cmd in the Search bar or Run.
4.Type in diskpart.
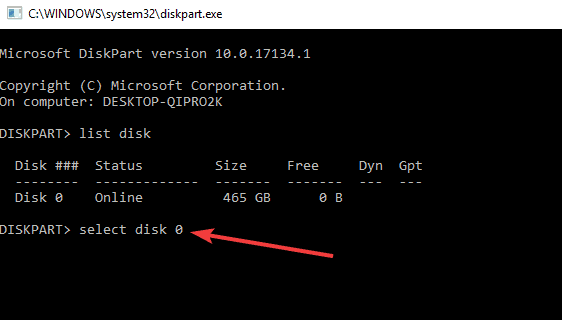
5.Type in list disk. A list of all the active disks will show up.
6.Type in select disk 0 in the command line.
NOTE: 0 in the command above indicates the drive number. Replace the number with whatever drive number you're working with.
7. Ensure that the disk you're going to use has no data you need because we're going to wipe out the drive.
8. Type in clean all and hit Enter to erase the SSD.
9.Type exit to exit Command Prompt and proceed to the Windows setup.
Method 3 - Use Windows 10 Media creation tool
1. Go to Microsoft's website and download Media Creation Tool.
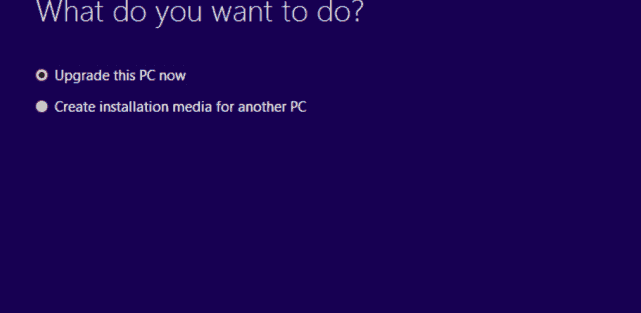
2. On a different computer, Launch Media Creation Tool and click on Create installation media for another PC.
3. Select the language, edition, and architecture.
4. Proceed with the installation process and select Finish.
5. Plugin the installation media into the PC that needs fixing (this can be via CD optical drive or USB port if you're using a USB flash drive).
6. Turn on the PC. Choose enter language and other preferences. Select next.
7. Choose to Repair your computer.
8. Select Troubleshoot under Choose an option.
9. Click Advanced options, then System Restore.
10. Click on Reset this PC to install Windows 10 again.
Method 4 - Update to the latest version of BIOS
1. Download the latest version of BIOS by getting the BIOS Update Executable file which can be found on your PC manufacturer's website.
2. Look for the file that is compatible with your computer and click on Download.
3. Save the file and open the BIOS update utility.
4. Your PC will reboot and BIOS will update.
Method 5 - Convert SSD to MBR
1.Launch BIOS. This will depend on what computer you have. For Windows 10 PCs, you can go to Settings then Update & security. At the left pane, you will find Recovery. Under Advanced startup, click on the Restart now button. Once your PC reboots, choose the Troubleshoot option then Advanced options.
2. Go to Command Prompt.
3.Type in diskpart in the command line.

4. Then, type in List disk, Select disk 0
NOTE: 0 stands for the disk number. Change it to whatever disk number you want to work with.
5.Type in Clean Convert MBR. This will convert your SSD to MBR.
6. Wait until the process is finished.
7. You can now install Windows 10 on the Windows installation screen.
Video Instructions: How to Install Windows 10 from USB?
Both Windows 10 and SSDs are new technology you might enjoy for their great improvement from their earlier counterparts. If you have a hard time installing this new OS to your new SSD, any of the methods above can help. Before performing any formats or reinstallations, make sure that you've backed up your data to another PC or external hard drive first to avoid experiencing more errors.
Computer Troubleshooting
- Win System Crash
- Windows Tips
- Computer Problems
- Blue Screen Errors


David Darlington
staff Editor