Will Mac Update Delete My Files?
There's always this air of curiosity surrounding rumors of a new Mac update. And when those rumors turn out to be fact, it's hard to contain your excitement.
On the flip side, what's the fastest way for that excitement to die? When you recall countless articles and posts that caution you of the risks involved in updating Mac.
This is not entirely untrue but there are ways to update your Mac to Mojave without the worry of risks. Below is a detailed discussion on safe ways to get your Mac running the new macOS Mojave and recover your deleted or lost data files just in case.
Part 1. Preparations for Updating Mac Without Losing Files
Apple's macOS is at number 15 already. From one macOS to another, the most recent release, dubbed "Mojave", takes the best parts of the previous 14 releases and makes them even better. Mojave is consolidated with new apps, features, and of course, better performance. It stands to reason why Mojave's motto is 'simply powerful'.
Power is not the only reason your Mac deserves to be updated to macOS Mojave. Apps are ultimately the heartbeat of any macOS because, without useful and professional as well as utilitarian apps, your Mac might as well be a plain TV.
You should be pleased to know that Mojave not only comes with new apps, but it also takes your favorite apps from the iPhone's iOS and plants them on your Mac system. That means you now have access to Voice Memos and Apple News right there on your Mac's desktop. Neat, isn't it?
That was just a little preview of what the macOS Mojave is capable of. Now, onward to preparation before download.
• Check the Compatibility
Not to put a dent in your excitement but the first thing you should do is check if your Mac is even compatible with the new Mojave. You'll need to check to see if your hardware and software is capable of running it.
Is your Mac currently running High Sierra (the Mojave's predecessor)? If yes, your Mac can easily run the Mojave update; if not, head over to Apple's support page and go over the list of Mac models and see if yours is on that list.
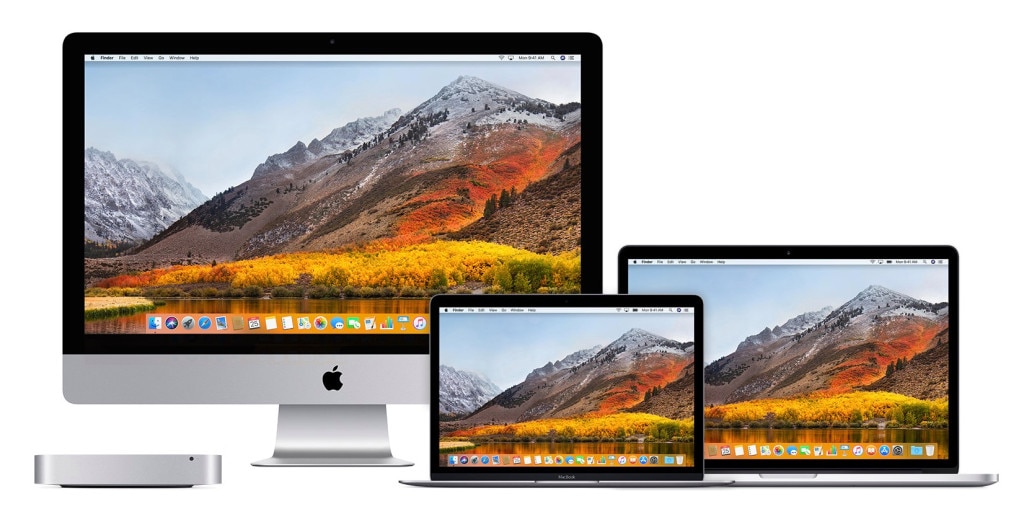
As a general rule, all Mac models that can run OS X Mountain Lion and later can also run Mojave:
- The MacBook launched in early 2015 or later years.
- The MacBook Air launched in mid-2012 or later years.
- The MacBook Pro launched in mid-2012 or later years.
- The Mac mini launched in late 2012 or later years.
- The iMac launched in late 2012 or later years.
- The Mac Pro launched in late 2013. Some of the Mac Pro models released prior to that year, mid-2010 and 2012, are also compatible with Mojave.
• Backup Your Mac
No one needs to tell you this is a smart thing to do. As risk-free as any update procedure may be, backing up your files should still be regarded as a necessary precaution. Mac systems have built-in backup software that is aptly-named, "Time Machine".
This tool can automatically back-up all manner of files on an hourly, daily and weekly basis; so, your photos, music, documents, email, applications, and even system files can all be saved.
You'll need an external drive for Time Machine to work properly because that's where the files will be saved. Do this:
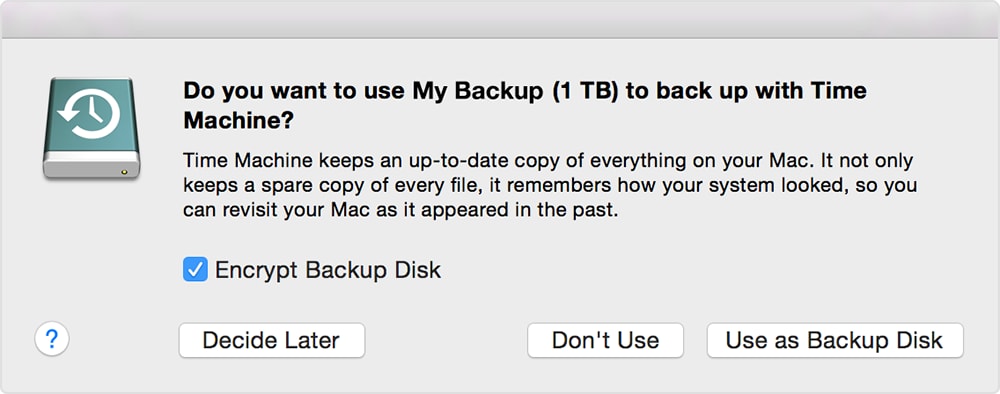
- Connect an external hard drive of any capacity to your Mac (choose a drive whose capacity tallies with the total size of your backup; or a drive that is greater incapacity).
- Time Machine will by default pick up the connected external drive, asking if you want to use it to back up your files. Tick "Encrypt Backup Disk" because it makes the external drive password-protected, then click on "Use as Backup Disk".
- The disk connected to the Mac will then be displayed. Select it and tick "Encrypt backups", then click on the "Use Disk".
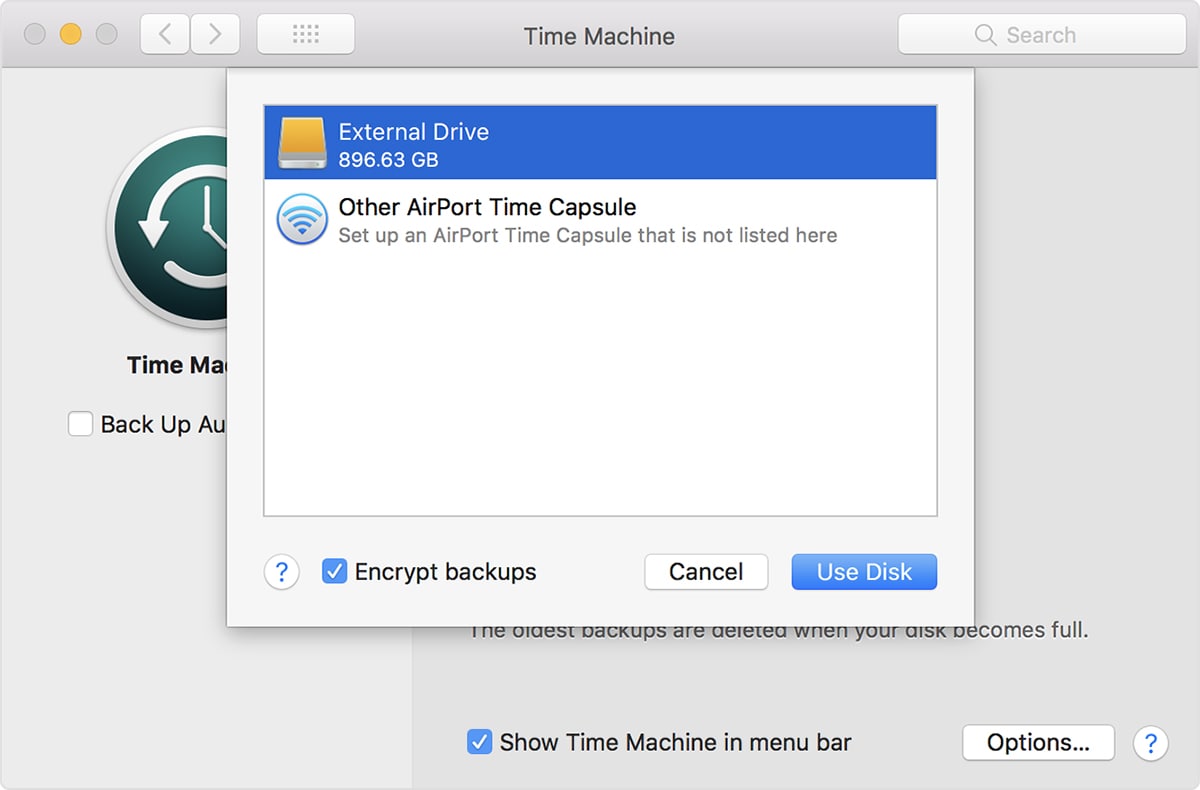
- Time Machine will make automatic, periodic backups into the disk you chose.
- If you want to manually back up your files, click on "Back Up" now in the menu bar of the Time Machine.

Clean Up Your Mac
Using up too much of your disk's capacity can reduce performance to an almost alarming degree. It's even worse when you have to update with little storage space to spare because that's a recipe for disaster.
To solve this issue, take the time to play around with some of the features Apple included in your macOS. They help you clean up your Mac and this is best achieved through 4 options:
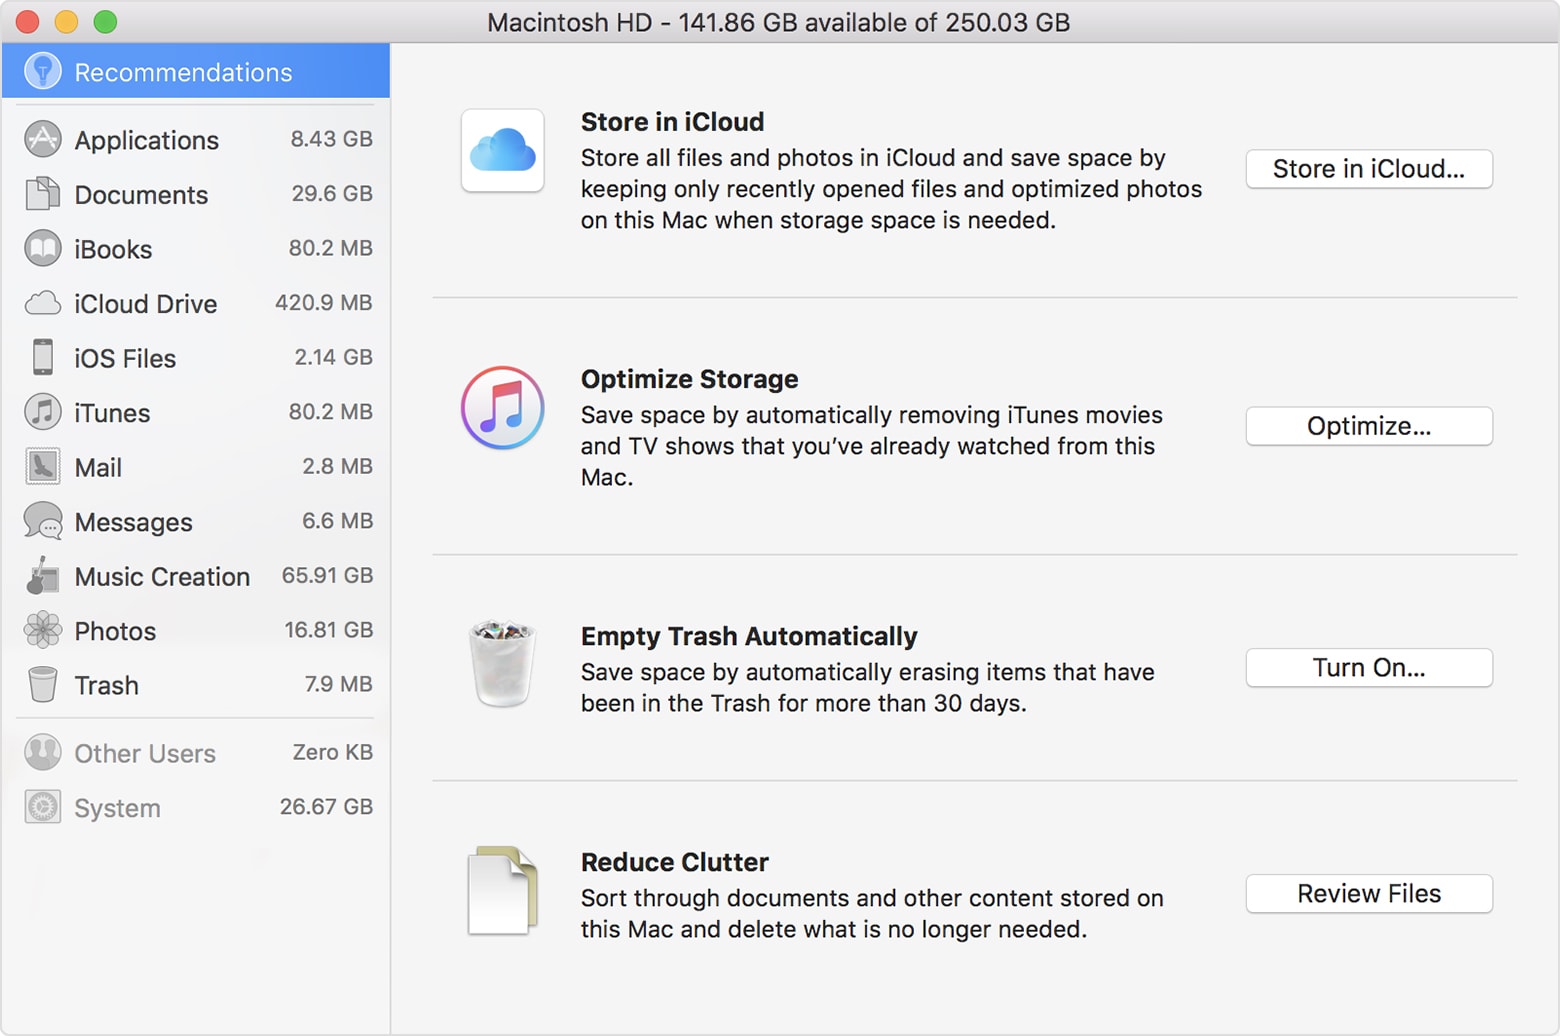
- Store in iCloud: iCloud isn't all that different from the other cloud storage services you know. You just upload your files to it. Your iCloud storage plan determines how much you can store.
- Optimize Storage: Optimize storage can detect when your Mac needs storage space. It proceeds to automatically store files you rarely use; and are only downloaded again when you click on it. But any recent files you use will be left on the Mac.
- Empty Trash Automatically: All the files in your trash get permanently deleted after 30 days.
- Reduce Clutter: This brings to your attention the largest files in the system and files you might no longer have any use for.
Curious to know just how much space is required for Mojave to be downloaded and installed? At least 12.5GB of free internal storage and 2GB of memory is required. But if you're upgrading from OS X Yosemite or any macOS older than that, 18.5GB is required.
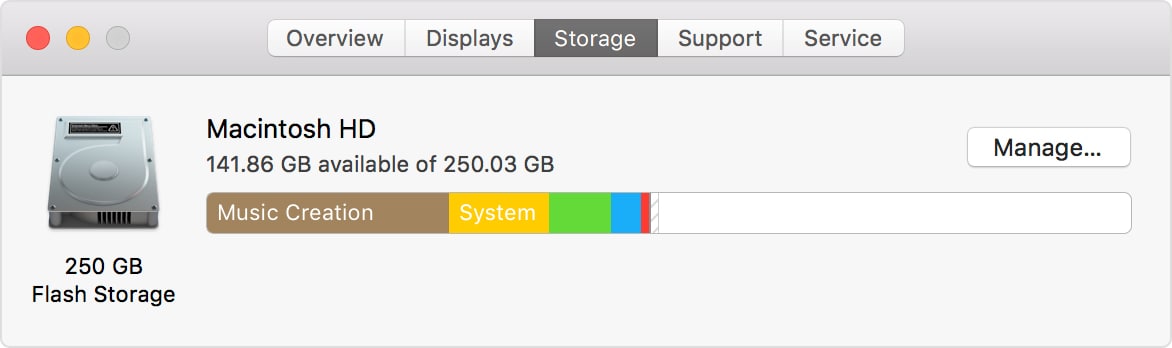
If you want to see what is occupying your Mac's internal storage, click on the "Apple" menu, then on "Storage". A window will show you the disk, using colors to indicate the different categories of files and how much space they've occupied.
• Prepare a Large-Sized External Device
This pretty much banks on the point above. Even though the minimum space required to install Mojave is 12.5GB, you are advised to leave as much free space as possible to avoid any unforeseen complications.
Refer to the above tip to free up any unnecessary files in your Mac. Larger and more important files can be backed up on external drives.
• Check the Apps Updates
To reiterate, apps carry the whole weight of Mac's fun factor. They also go a long way in determining how useful your Mac is in your daily life. Honestly, what's a computer without updated apps?
A burden, that's what, because your Mac won't be able to keep up with anything. And if you rely heavily on your Mac as a work tool, updating its apps become utterly necessary.
The library of apps for Mac ranges into millions (1,800 000, to be precise) and as you would expect, not all of them are compatible with the macOS Mojave. Perhaps in the future, they will all be, but as of now, developers are still yet to catch up.
It becomes prudent for you to check on these developers via social networking or their official websites to make sure their apps support macOS Mojave.
Even if your apps end up being compatible with Mojave, there could be changes to Mojave that renders those apps ineffective and incapable of functioning properly. Glitches thus abound and become a perpetual annoyance and source of frustration.
All in all, the best solution to this problem is to make an inquiry about the matter with the apps' developers. That way, you know what to expect before updating to Mojave.

• Check the Details
There are three main things you should look out for here:
Battery Power
How much battery power do you need before initiating the update? You are advised to charge it to the max. This is more of a precaution and less of a requirement.
Network Connection
You will require a good, strong, and stable internet connection. And plug your Mac into AC power before you begin.
Official Update Download
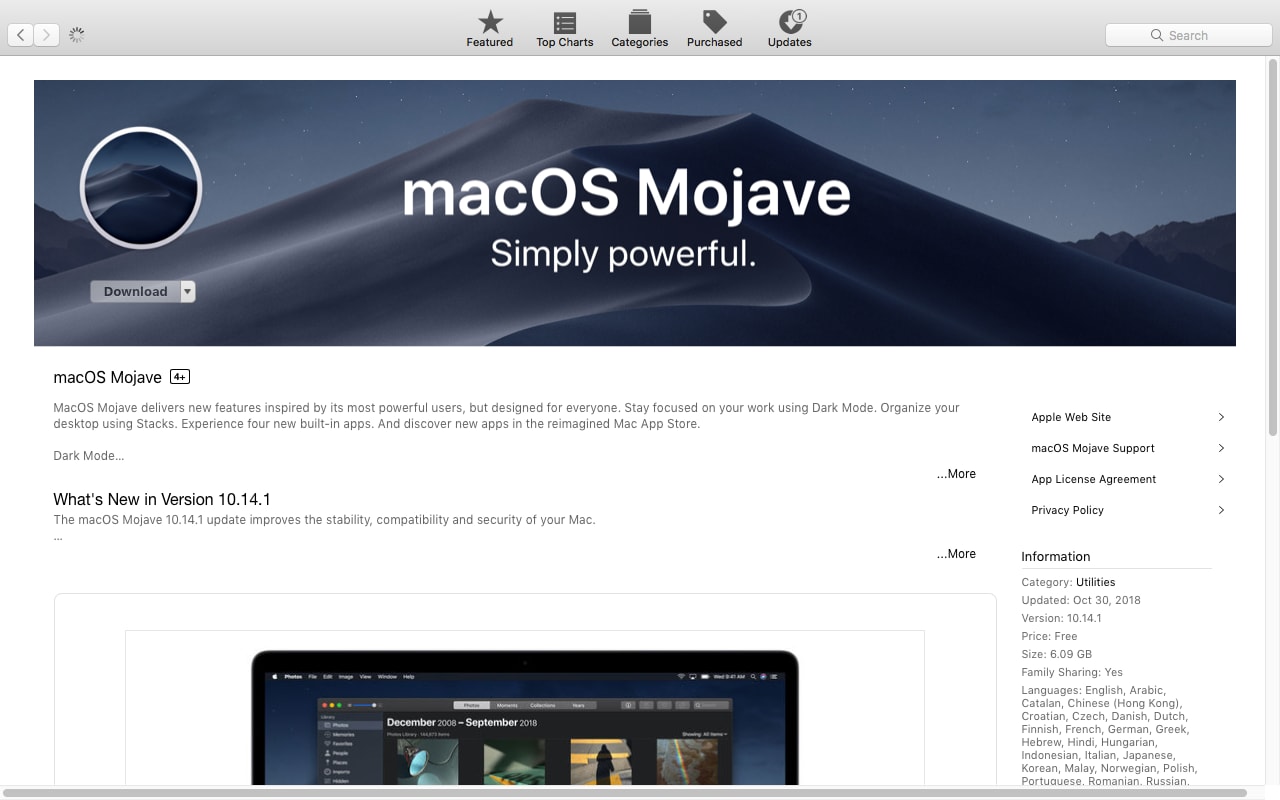
Open up your "App Store". Click on the "Featured" button to see if your Mac is eligible, or type it in the search bar to see if you can find it.

Part 2. How to Update & Reinstall macOS Without Losing Data
This is the big one… That's what this entire post is about, and that's the main reason you came here, isn't it?
There are two main ways you can download Mojave. It's up to you to decide which is more convenient for you.
You can either do a clean install if you want to wipe your Mac completely, or you can install atop the existing macOS and supplant it with Mojave. Since you probably intend to keep your files, you are advised to go for the latter:
Upgrade Install:
- Launch your App Store from your Mac "Dock" or "Applications".
- Once the store opens, click on the "Featured" ribbon in the toolbar.
- Mojave will in all likelihood be the featured item at the top of the window. If you see it, there will be a "Download" button on the tile below the Mojave tile. Click on it.
- If you don't see it, click on the Mojave tile and you will see a more detailed view with the "Download" button now appearing at the top left. Click on it.
- Once the download completes, you will see a file called "install macOS Mojave" in your "Applications" folder. That is the Mojave installer. The update will start automatically though, so you don't have to click the file. Go engage yourself with some activity until the download is done.
- The Mojave installer will launch itself after the macOS finishes downloading. If it doesn't, click on the "Install macOS Mojave" app in your "Applications" folder.
- It will launch with a simple but attractive welcome screen. Click on the "Continue" button.
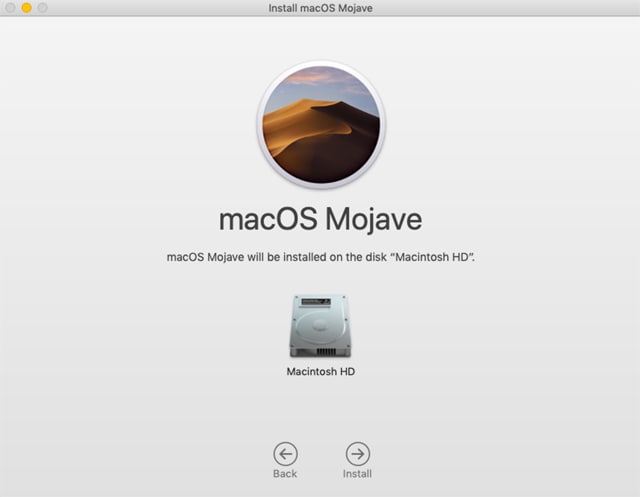
- Scroll over the license agreement and click on the "Agree" ribbon at the bottom. Your startup disk will be where Mojave will be installed.
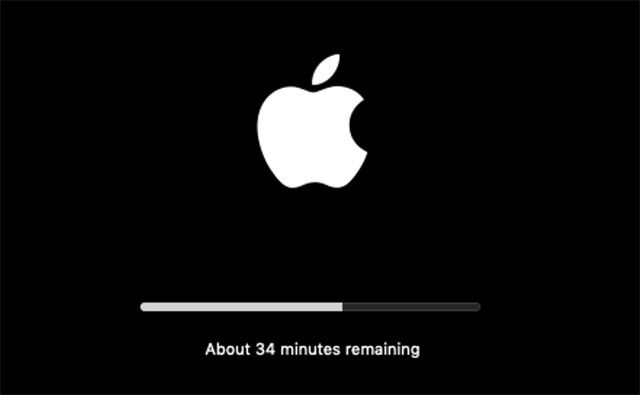
- The installer will begin copying files to your Mac. You will see the progress via a bar. Your Mac will restart to finalize the installation. After that, you will see another progress bar just like the first one, but the second bar will display the estimated time the installation is expected to take. The time it takes for Mojave to install ranges between 30 minutes to an hour. And you're all done. Your mac is now happily running macOS Mojave.
Re-install Mojave
The steps for reinstalling Mojave without losing your files are pretty straightforward. You only need to do this:
- Click on the "Apple" icon.
- Click on "Restart from the dropdown menu that appears.
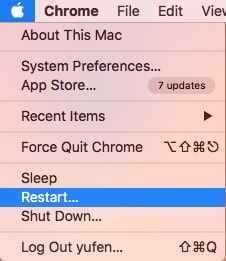
- Hold down on this combination of keys: "Command" and "R". The "Apple" logo will appear.
- Click on "Reinstall macOS".
- Click "Continue".
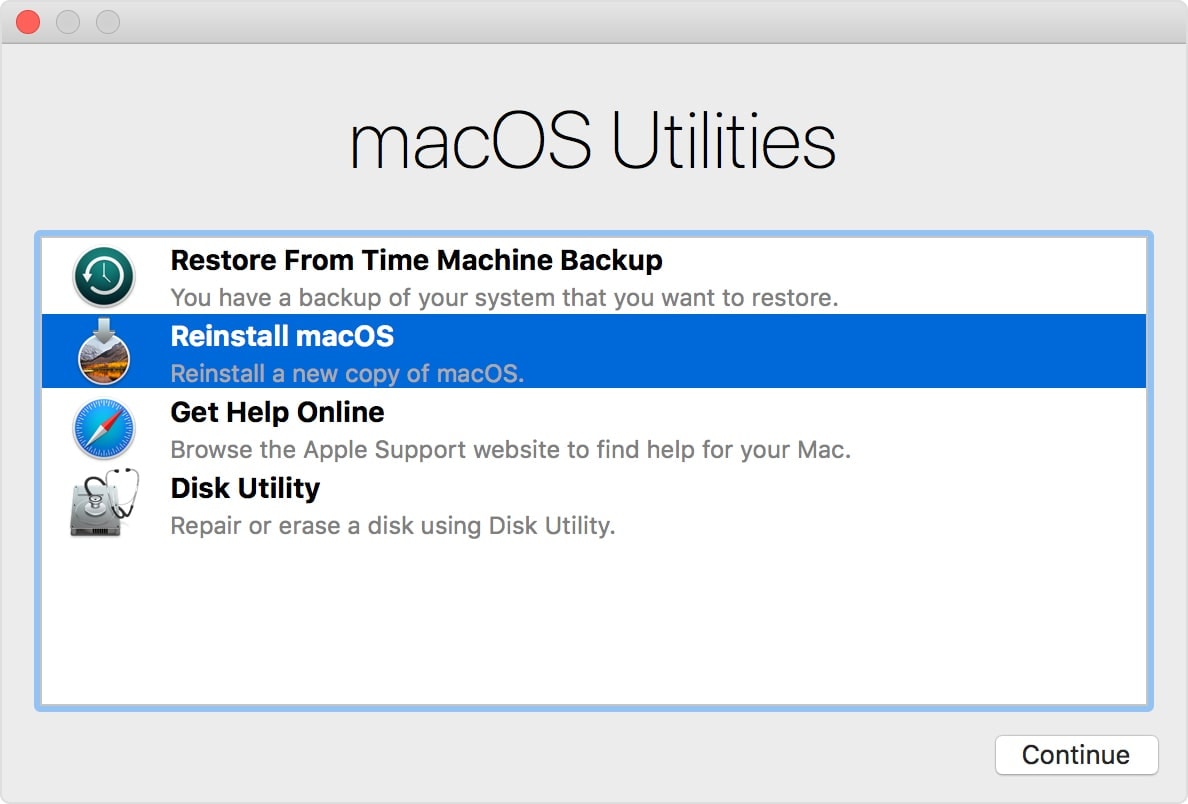
- Choose your disk and click on "Install". Wait for it to finish and you're all set. Your Mac's Mojave has now been reinstalled.
Part 3. How to Recover Deleted Files After Mac Update
When it comes to computers, there is always a risk of losing your files. It's not a given, but it's a possibility not to be overlooked. Data loss during an update can often be blamed on faulty hard drives or a glitch within the macOS itself.
Causes of Data Loss
A drive with a corrupted file system can lead to data loss after an update. Then again, it could even be a hardware problem.
Data loss can also stem from bugs within the macOS update. This is a normal issue as day-one releases often come with bugs that are only rectified by patches or later releases.
Then there's the issue of lack of space. Inadequate space can increase the risk of losing your files during an update.
Recoverit Data Recovery
Several factors can be responsible for deleting your files when updating your macOS to Mojave. If that happens, what do you do? You turn to Recoverit Data Recovery software for help, of course.
The software receives periodic updates, making each new version you see is better than the previous release. Mac users the world over give credence to how effective Recoverit Data Recovery is. They found a great use for it, and so will you.
Recoverit is fully capable of recovering anything you lost after updating to Mojave. This how it can do that for you:
- Recover Word documents from all storage devices like Mac.
- Recover 1000+ types and formats of files in different situations.
- Scan and preview the files before you recover them from MacBook hard drive.
Step 1: Select the Recycle Bin Recovery mode
Startup the Recoverit software and select the disk to be scanned. The disk should be where your deleted files once were.

Step 2: Scan the Location
Click the "Start" ribbon located at the bottom and to the right. This will begin the scan. Once completed, you will be notified via a popup window. Click the "Ok" ribbon on it.

Step 3: Preview and Recover
Once the results are displayed, you can just preview the recovered media files and select the content of your choice. In the end, just click on the "Recover" button to save your files.

Conclusion
The possibility of losing your files after an update should not be a factor that hinders you from keeping your Mac optimized. If you are ever faced with this problem, Recoverit is the tool you need to deal with it.
Only time and advancement in technology can tell just how powerful Mac systems become, so you have to always keep yourself updated, and that entails keeping your computers updated too. You can't be left behind in this race against technology so it's imperative your Mac is always up to the task. It's even more important you have a failsafe backup plan in the event you lose your files, and that backup plan is Recoverit Mac Data Recovery.
What's Wrong with Mac
- Recover Your Mac
- Fix Your Mac
- Delete Your Mac
- Learn Mac Hacks


Sue Wayne
staff Editor