
Accidentally deleted or lost data in NTFS Drive?
No worries, Wondershare Recoverit can get back your lost files within 3 steps. The professional yet easy-to-use data recovery software is totally reliable and 100% safe.)
Since the launch of macOS Catalina, reading NTFS drive on macOS is completely supported as the contents can be seen and copied. However, the NTFS drive format is a Windows operating system standard, macOS writing to NTFS is prohibited by default.
Your Mac can only examine and copy the contents but cannot write to them. Therefore, you'll need to find a solution if you want your external disk to work with both operating systems. In this article, let's discuss the six different methods to read and write NTFS on Mac. It includes:
In this article
Method 1: Format NTFS to FAT32 or exFAT in Mac Disk Utility
Compared to NTFS, FAT32 or exFAT file system is compatible with both Windows and Mac OS. Therefore, you can reformat NTFS files on your Mac to FAT32 or exFAT using the Disk Utility program included with macOS to enable NTFS read and write support.
Consider more about the contents of your NTFS files before changing the format. High-quality documents may lose data since FAT32 isn't nearly as effective as NTFS. It occurs due to the allocation of FAT-formatted drives in clusters based on their size. To avoid quality deterioration, you must update FAT purposes often.
It is only one of the important reasons that you should back up the data in the NTFS disk before formatting it to FAT32. If data has already been lost, now worries, it is possible to recover it. You can learn the step-by-step guide in the article NTFS data recovery.
Steps to Format NTFS to FAT32 or exFAT in Mac Disk Utility
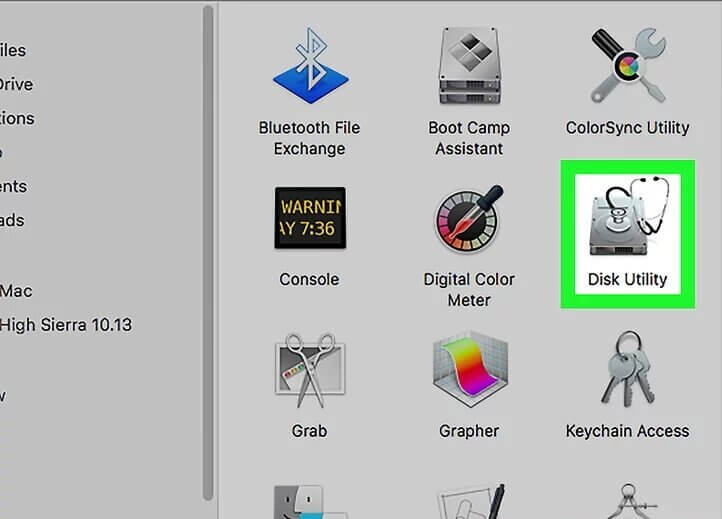
Step 1. Open Disk Utility.
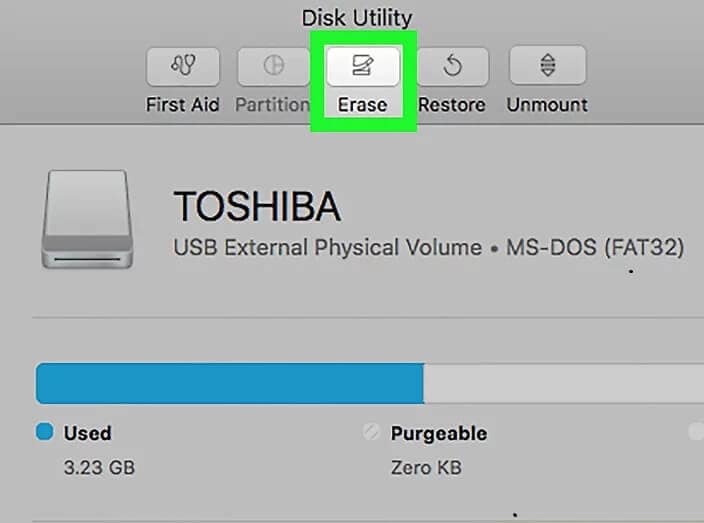
Step 2. Click Erase after selecting your NTFS volume in the sidebar.
Step 3. Click the Format Option in your macOS.
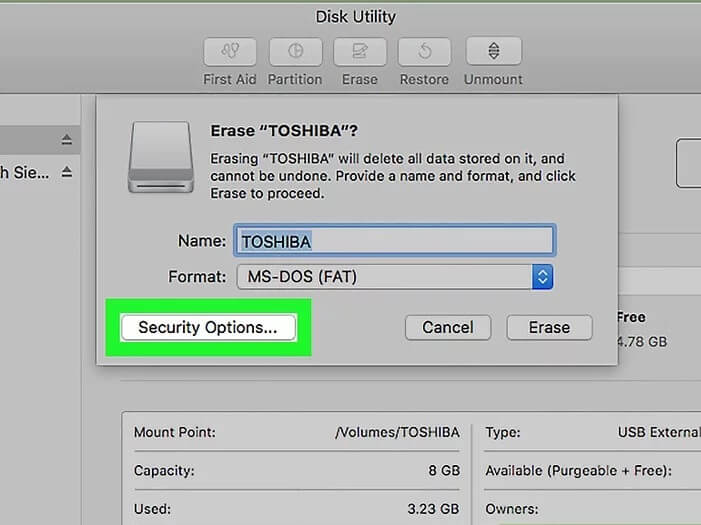
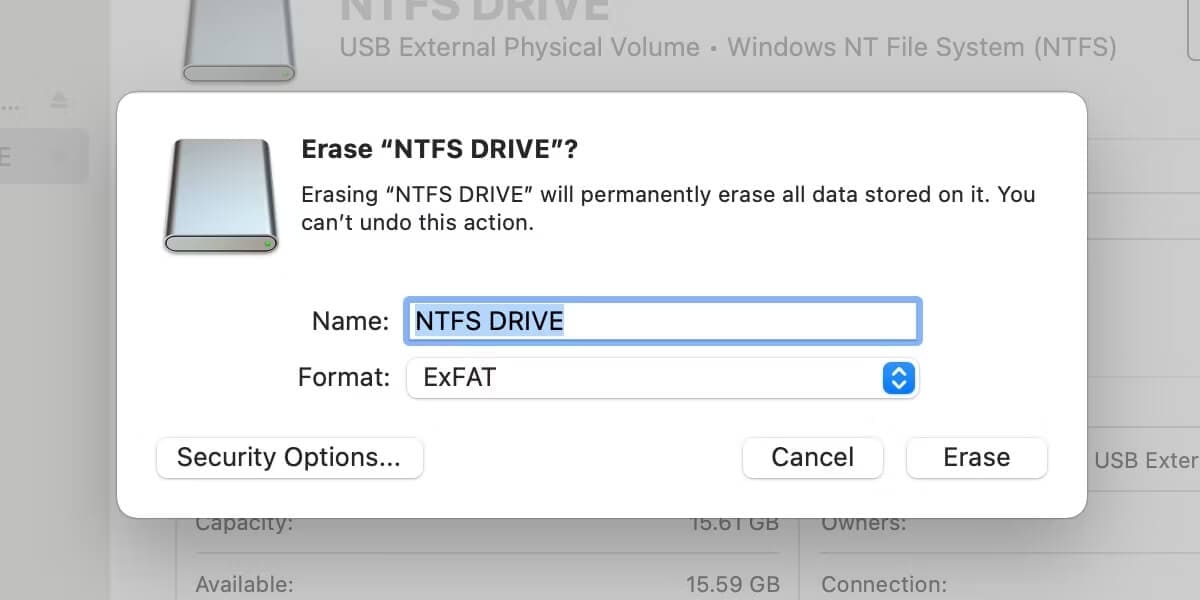
Step 4. After changing the format to FAT32 or ExFAT, click Erase and rename it if necessary.
Method 2: Use a Third-Party Tool to Write to NTFS on Mac
Since macOS doesn't support Windows NTFS drives, various third-party applications are used to authorize read and write NTFS drives on macOS. These can be useful if you plug your drive into a Mac and a PC, both of which support larger file sizes than those allowed by the more common FAT32 format.
There are free tools available for Mac software like Mounty for Mac, FUSE for macOS, SL-NTFS, and NTFS-3G. On the other hand, free trials are available on SYSGeeker NTFS (with the upgrading price of $34.95), Paragon NTFS (with the upgrading price of $20), Tuxera NTFS (with the upgrading price of $15), and iBoysoft NTFS (with the upgrading price of under $20).
For detailed information, you can visit the article Top 8 Free NTFS for Mac Software.
Method 3. Enable NTFS Write Support on Mac Using CMD in Terminal
If you don't want to format the NTFS drive on your Mac, you can use macOS Terminal to enable write capability for particular Windows disks. You should do a complete backup to your Mac and any data on the disk before continuing because this is an experimental function and could result in data loss.
This method of using Terminal has a quick process and requires no external software. This feature is still being tested, so it's best to act cautiously because your files might end up damaged at any point.
Step to Enable Mac NTFS Write Support Using CMD in Terminal
If you are well informed of the risks and ready to do this method, here are the steps below you can follow to enable NTFS write mode in macOS:
Step 1: Enter Terminal by clicking the Spotlight icon in the upper right corner of your screen and connect your NTFS drive.
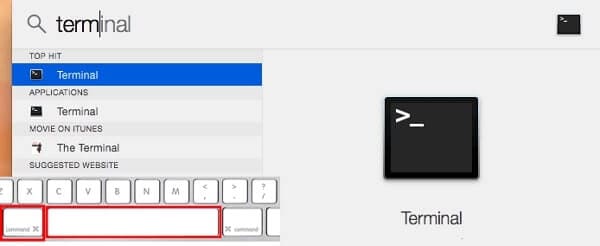
Step 2. Execute the command sudo nano /etc/fstab and press Return. When prompted, enter your admin password and hit Return.

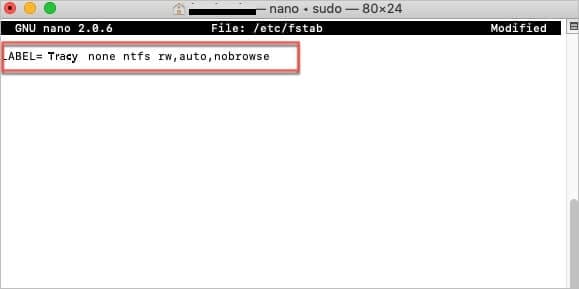
Step 3. Enter the command LABEL=NAME none ntfs rw, auto, nobrowse, changing NAME to the title of your external volume. To save, click Control + O, then press Return. To end nano, press Control + X.
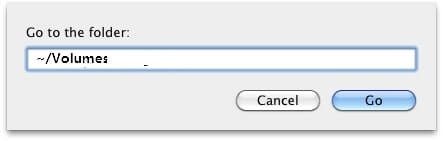
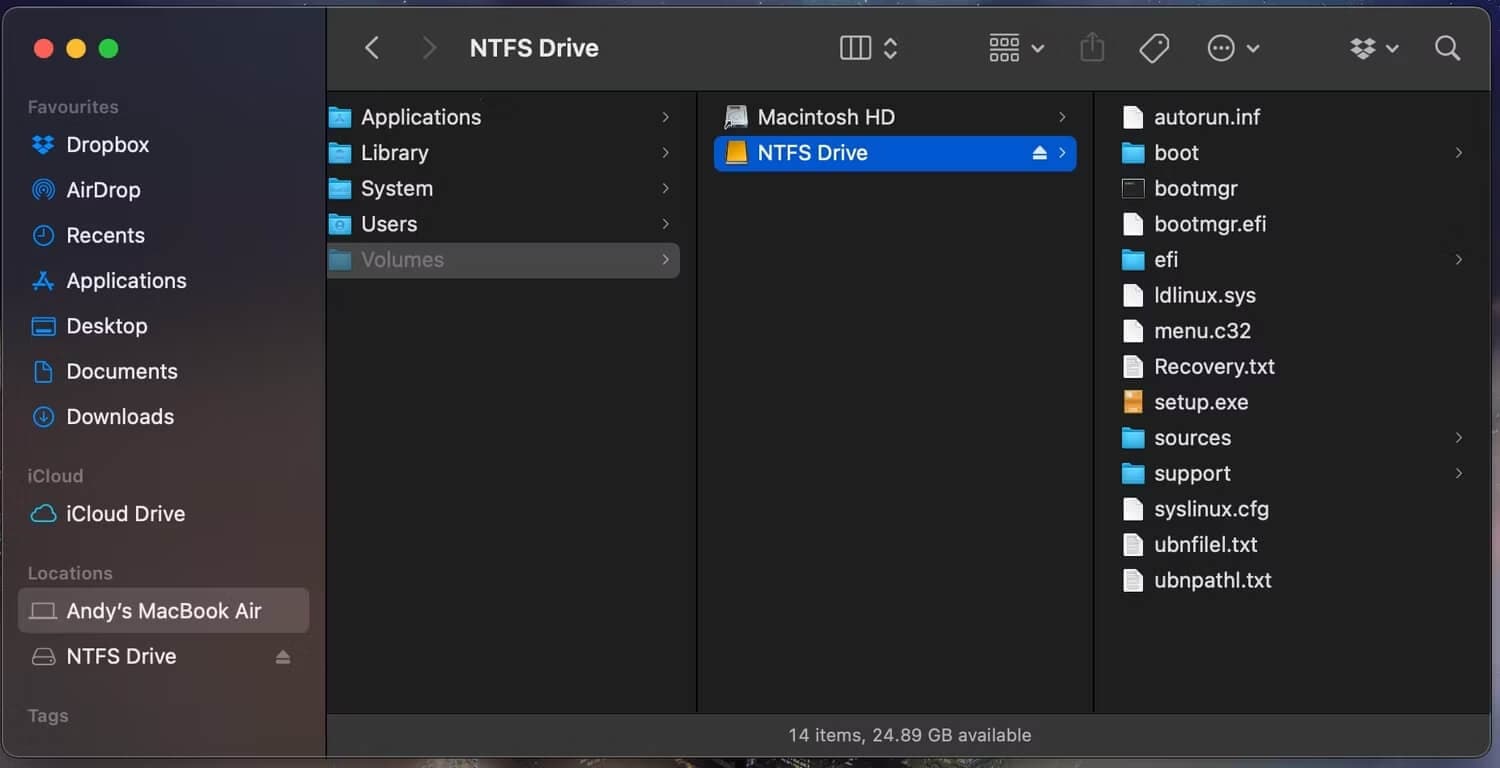
Step 4. In the Finder section, click Go > Go to Folder > Type: /Volumes, and then press Go. The name should be changed to the name of your NTFS drive.
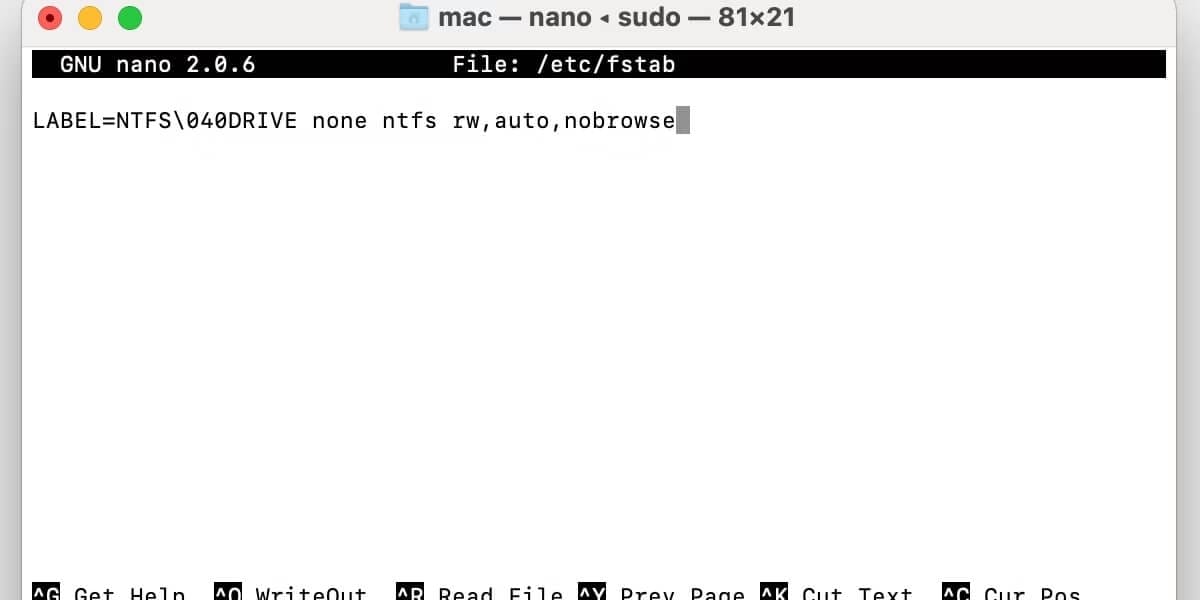
Step 5. If the name of your drive contains spaces, you must represent them with the character \040. For instance, if the name of your disk is NTFS DRIVE, you must enter:
LABEL=NTFS\040DRIVE none ntfs rw,auto,nobrowse
Your external disk will be accessible in Volumes once the procedure is finished. Here's how you can quickly access your macOS write-ready NTFS drive:
Start the Select the Go menu and press Go to Folder. Type/Volumes and hit Return.
You should have completed the process of accessing the read and write of NTFS on macOS. If the Terminal method hasn't worked, ensure all commands were input correctly. The entire process can be ruined by one mistyped character.
Method 4. Use BootCamp to Access NTFS Drive on Mac
Using Bootcamp to read and edit NTFS files is now a safe choice because it is Apple's way of enabling Windows to run properly on your Mac. It automatically downloads everything you require to run Windows on your Mac, but there are a few considerations:
- If you use Time Machine, make sure to back up your files because it will remove all of your previous backups.
- Bootcamp will not be available on Macs with Apple Silicon running the most recent version of macOS, including macOS Big Sur, Monterey, and Ventura. It is unclear whether Apple will ban Bootcamp on all Macs or just those powered by Apple Silicon chipsets.
- After 90 days, you may no longer use Windows 10 on a Mac without purchasing a license for it.
Steps on How to Use BootCamp to Access NTFS Drive on macOS
Time Machine is macOS's default backup and restores the app. It creates an external drive snapshot of the entire disk and only stores changes for future backup activity. So you're probably wondering if you can use Time Machine to back up your Boot Camp partition. Yes, the answer is YES. The procedure is quite simple, and you can follow our instructions below.
Please remember that the instructions below will only work if you have already created a Boot Camp Windows partition using Time Machine.
Step 1. Rename the Boot Camp volume to something other than Boot Camp. Time Machine will now recognize the Boot Camp volume as a backup drive.
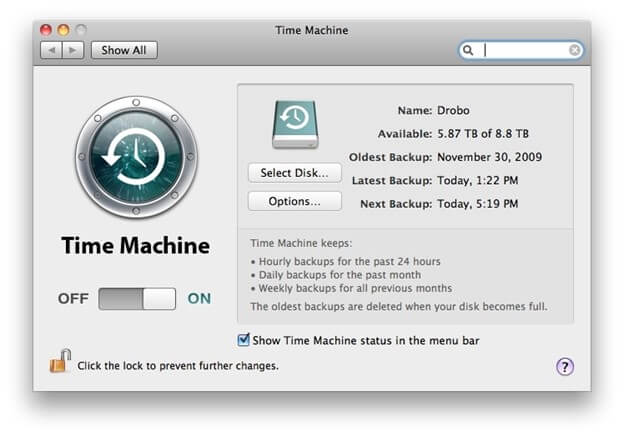
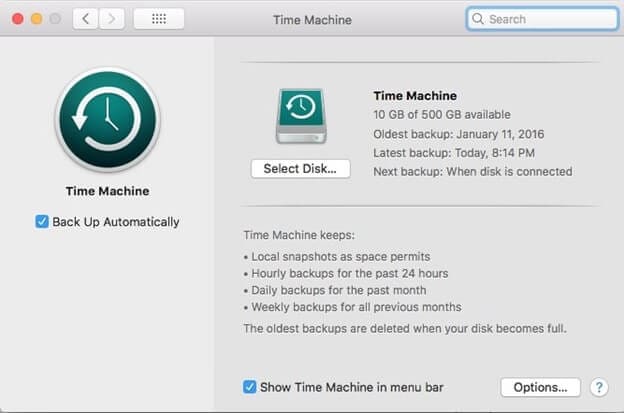
Step 2. Go to the Time Machine preferences panel and select Options.
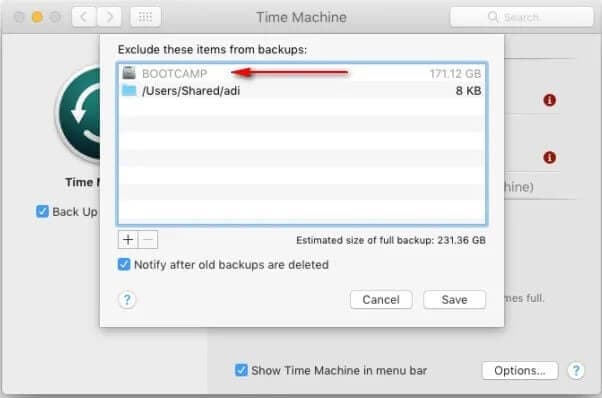
Step 3. From here, remove the NTFS volume from the exclusion list by selecting it from the list. After that, every time you run a backup task on your Mac, it will back up the chosen NTFS drive.
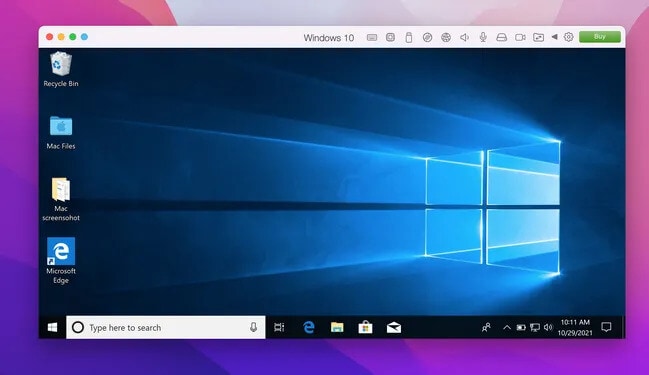
Method 5. Use VM to Write to NTFS on Mac
If none of the third-party tools work, it would be wise to set up a Windows virtual machine on your Mac to access the read and write functions of the NTFS drive. The setup procedure is a lot complex and can reduce performance. Additionally, a Windows virtual machine uses up 50 GB of your Mac's spare space.
Steps on How to Use VM to Write to NTFS on Mac
Step 1. Install the Windows ISO from Microsoft. The process will be complex and time-consuming because the file is relatively large. For instance, the most recent Windows 10 ISO is almost 5 GB in size.
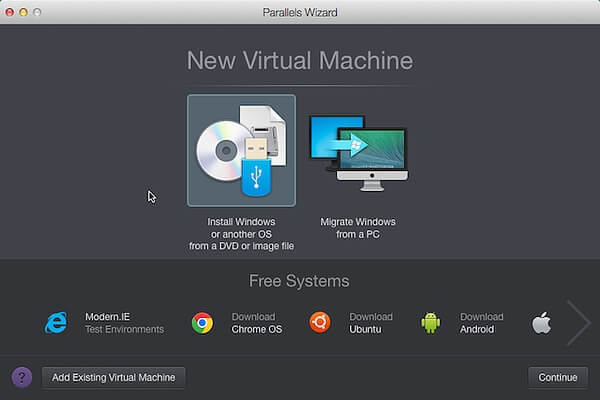
Step 2. Purchase a virtual machine program like Parallels Desktop or VMWare Fusion, which provides a risk-free trial.
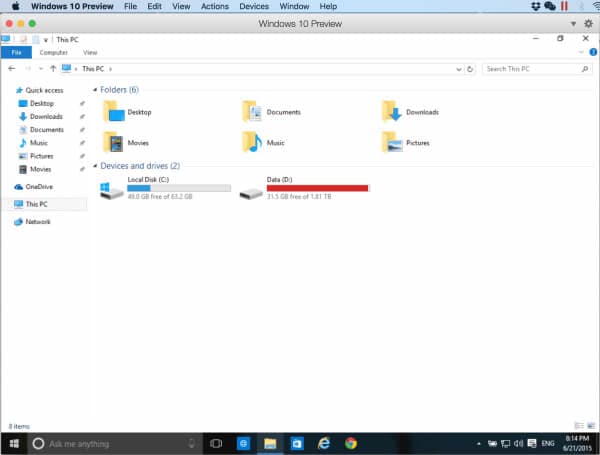
Step 3. Build a Windows virtual machine on your Mac and insert the NTFS disk to begin copying files to your Mac from it.
Method 6: Move the Files in NTFS Drive to the Cloud
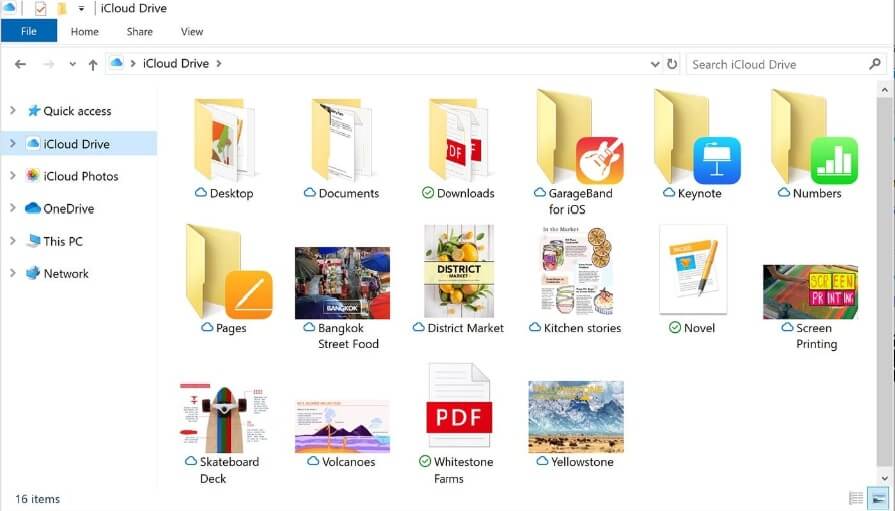
Even if the files were produced for Windows and saved to an NTFS disk, online services like iCloud Drive allow you to sync instantly, edit and share them. All cloud services can host and share NTFS files with a free allowance of 5GB. Choose your preferred cloud storage service and give it a try.
Steps to Move the Files in NTFS Drive to the Cloud
Step 1. To use iCloud, open your Windows drive in Finder and copy-paste any files you need to the iCloud Drive folder. If you can't see this in the side pane, Open System Preferences > iCloud to ensure you are logged in and the service is enabled.
The data will be automatically synced to Apple's servers by the Mac operating system. You can choose to share a link with others after you've opened the files and made any necessary adjustments.
Step 2. To do this, right-click on any file and then mouse over the Share button in the menu that appears. You can select several ways to transmit your sharing link from this point.
Video Tutorial on Reading and Writing NTFS Drive on macOS
Bonus Tip: How to Recover Data from NTFS Drive
If your data in NTFS file is lost during any of the above-mentioned processes, you can recover it using a hard drive data recovery software. We recommend Recoverit Data Recovery. This data recovery tool will recover data from NTFS drives. If you connect your USB device and you cannot see it you can follow our steps to find your missing USB drive in Windows and follow the simple steps to recover data from NTFS drives.
For Windows XP/Vista/7/8/10/11
For macOS X 10.10 - macOS 13
Download and launch Recoverit on your Mac and follow the next simple steps to perform Mac hard drive data recovery.
Step 1 To recover lost data from your NTFS hard drive on Mac, select your Mac hard drive where your data gets lost and click "Start" to have a scan on your NTFS drive.

Step 2 The scan will require a little time to finish searching for lost files. The scanning procedure will be displayed in real-time.

Step 3 After scanning, you can preview the recoverable files, select the desired ones, and click on "Recover" to get them back.

A Mac can read NTFS files but cannot write on them. This can be changed by using some free third-party apps that can easily be downloaded, installed, and used on a Mac to write NTFS. Apple also has experimental NTFS write support. You can make use of this for writing NTFS on Mac.
Conclusion
It's essential to have prior knowledge in accessing read and write permissions of NTFS on macOS. Things could get worse if you unintentionally delete important files on your Mac. When reformatting is not your choice, use third-party tools. If you want to use command lines, use Terminal. If you're saving time, do formatting using FAT32 or ExFAT.
For Windows XP/Vista/7/8/10/11
For macOS X 10.10 - macOS 13

